This shop has been compensated by Collective Bias, Inc. and its advertiser. All opinions are mine alone. #NutrishRealMeatTreats #NutrishPets #CollectiveBias
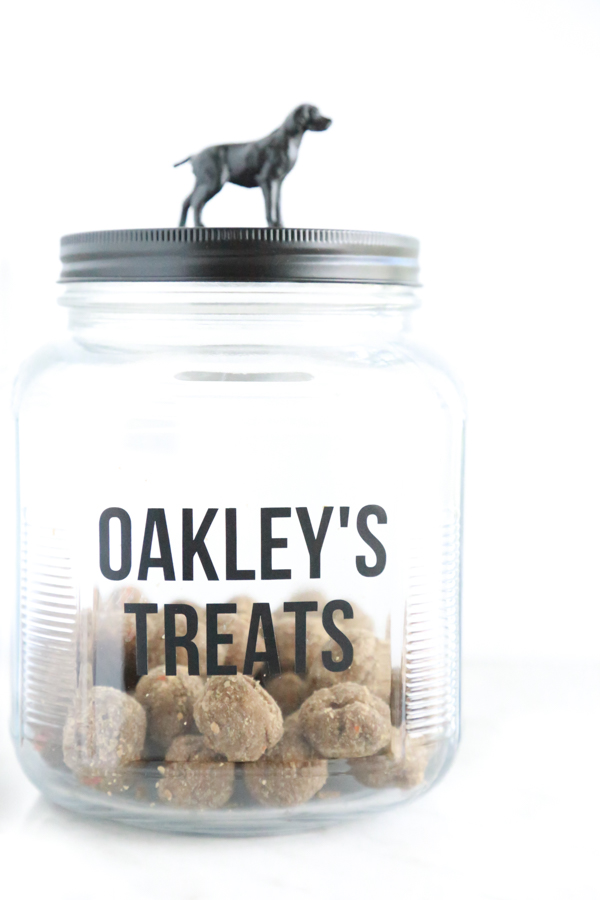
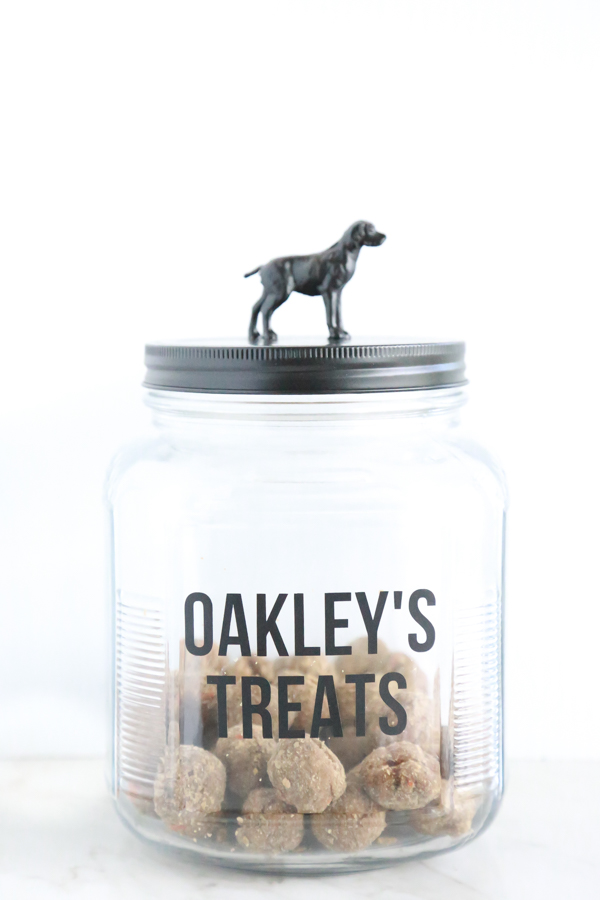
If you’re looking for a cute way to store your dog’s favorite treats, this Homemade Dog Treat Jar is easy to make and is super cute!
Over the past few months I’ve been in a streamline, get rid of the clutter, kind of mood. I’m throwing away things I can live without, I’m donating things that still have life in them, and I’m finding ways to organize my life so that everything around me looks neater.
I’ve learned that this is one way I feel less stressed and less irritable. I’m pretty sure my entire family is happy about that.
Obviously there are things that we need in our home, but I’m learning that there are ways to minimize the appearance of clutter by using different techniques and storage containers.
That’s where this Homemade Dog Treat Jar comes in, y’all.
I made this Homemade Dog Treat Jar so that I could get rid of some bag clutter and display my dog’s treats in such a cute way.
How to Make a Homemade Dog Treat Jar
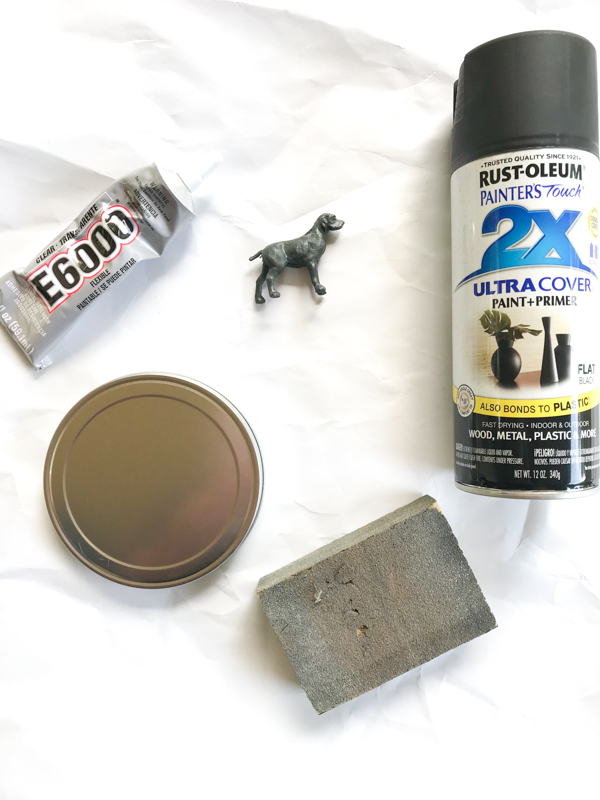
Dog Treat Jar Supplies:
- a large glass container with screw on lid
- alphabet stickers or cutting machine + vinyl
- black spray paint
- strong adhesive
- small, plastic dog figure
- small nail file or piece of sandpaper
- piece of cardboard or paper to protect surfaces from paint overspray
Dog Treat Jar Instructions:
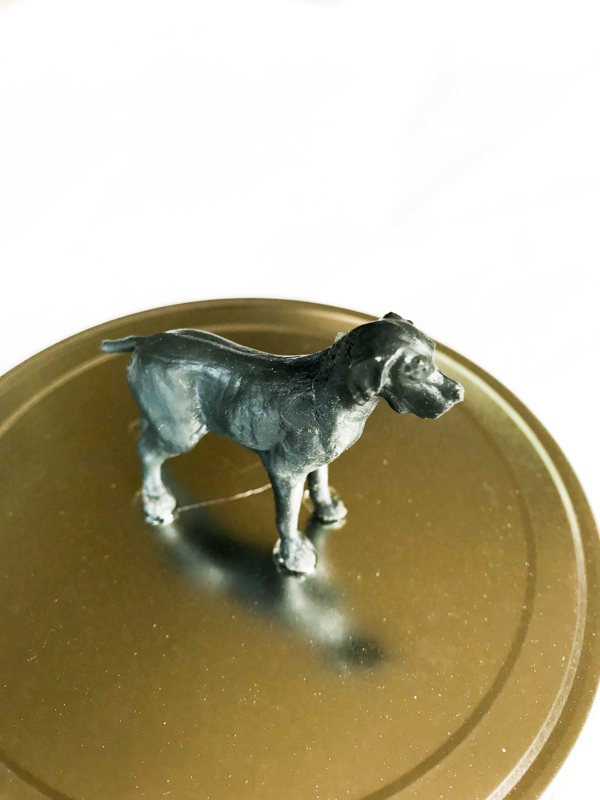
Using a nail file or piece of sandpaper, lightly rub against the bottom of the dog figure. The idea here is to make it a little rough so that once you apply the adhesive, it has something to grab on to. Once you have done that, apply the adhesive to the bottom of the dog figure and place in the middle on top of the lid. Allow to sit undisturbed for at least an hour. The adhesive doesn’t need to be completely dry to spray paint, but I don’t recommend actually moving the lid until the adhesive is completely dry.
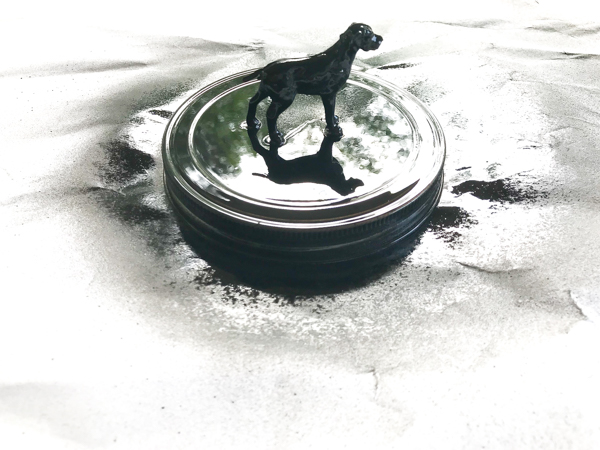
Next, paint the lid and the dog figure using a can of spray paint. I used a flat black spray paint and I love the way it turned out. Apply a light coat and allow to dry. Repeat until the lid and dog figure are completely covered in paint. Set aside and allow to dry.
While you’re waiting on the adhesive and paint to dry, you can begin working on the glass part of the homemade dog treat jar. If you are using a cutting machine and vinyl, create the images or words you want. Whether you are using stickers or vinyl, I recommend using some transfer paper to help you make sure everything is lined up and straight. I used my cutting machine to create my design with a big & bold font so that it is easily seen. I tried with a lightweight font at first and I didn’t like the way it turned out.
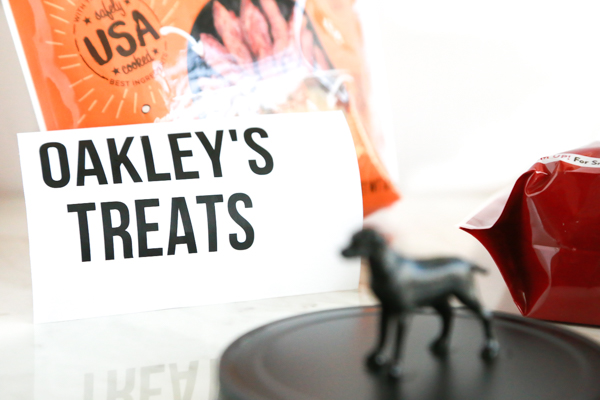
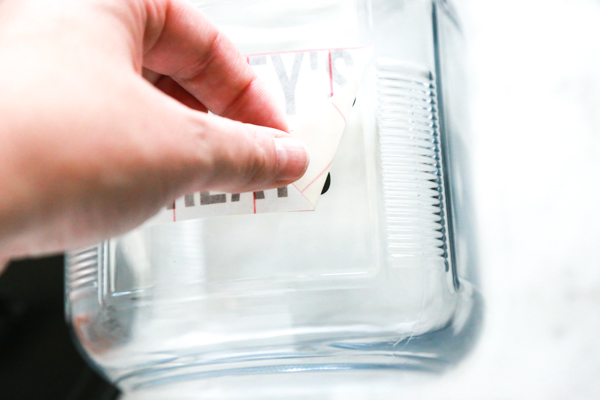
Since my glass jar already had a straight starting point, I used a plain piece of tape to mark a straight line further down the front of the glass jar. If your jar doesn’t have a straight line, I would use a ruler and a marker to mark off a straight line and then remove it with rubbing alcohol once you’re done. I used the transfer paper to make sure that my letters stayed straight and even. Once your image is on the glass jar, you can gently and slowly remove the transfer paper to reveal your design.
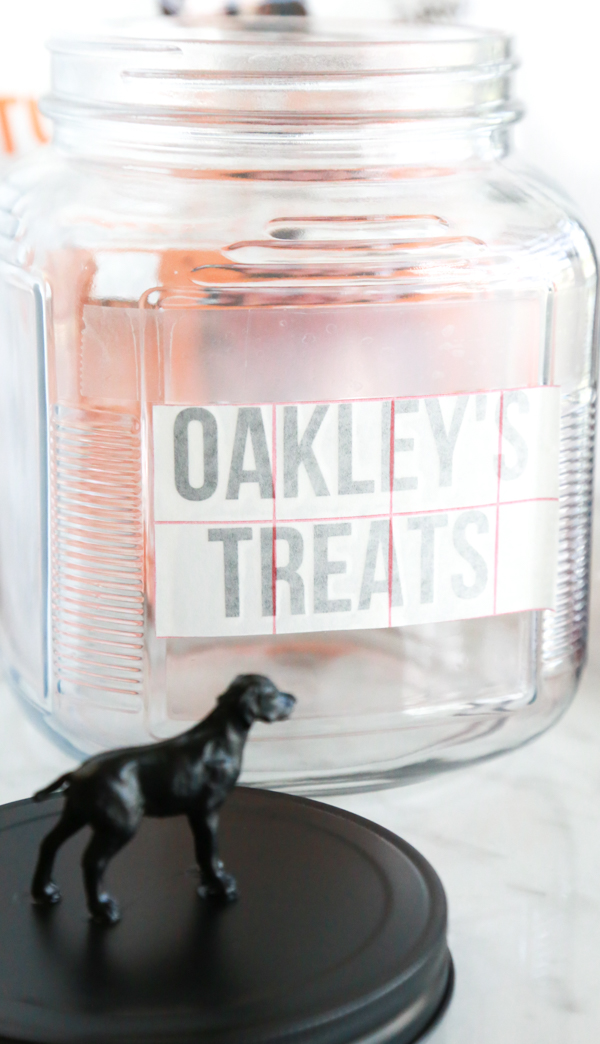
Once the adhesive is set and the paint is dry, you can use the homemade dog treat jar. Isn’t it so cute?
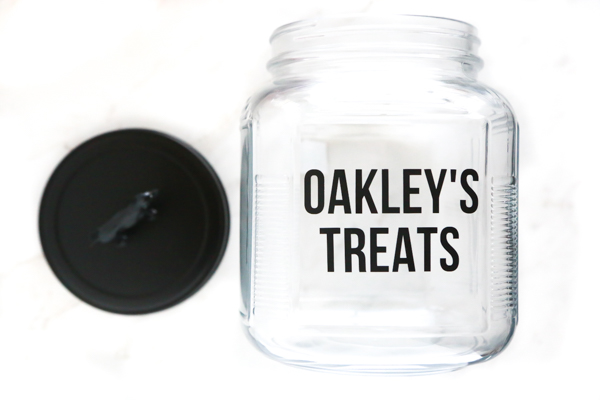
Now that I have a super cute homemade Dog Treat Jar, I can store Oakley’s Rachael Ray™ Nutrish® Dog Treats in such a cute and organized way.
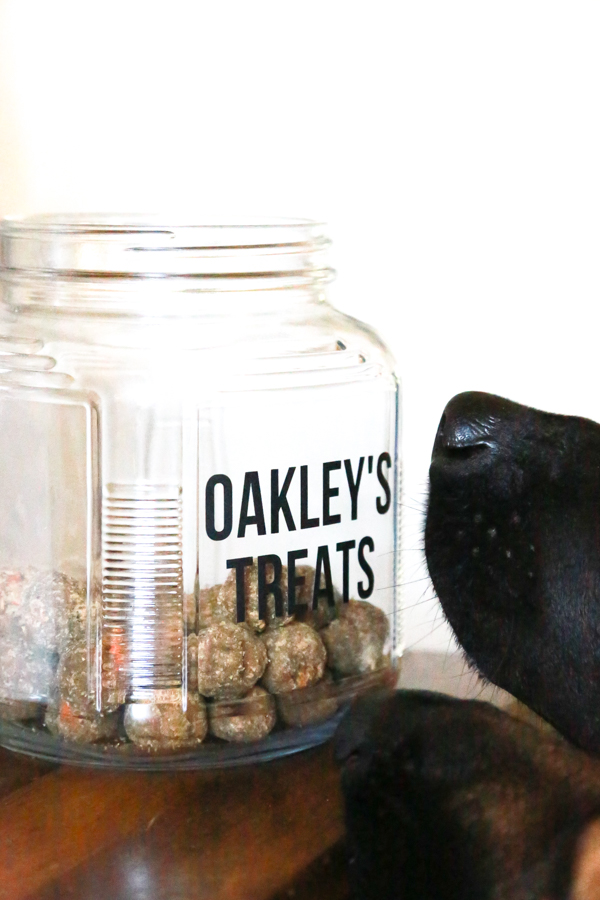
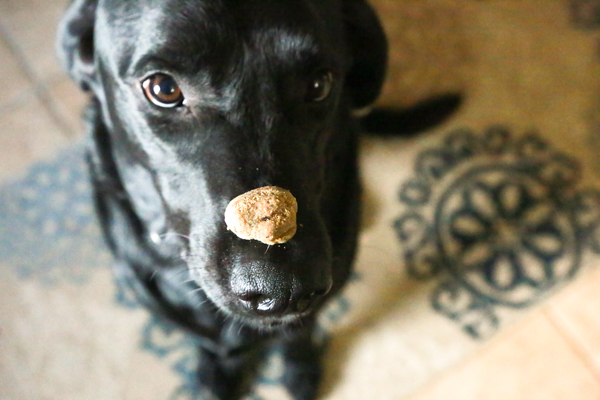
Since we’re on the subject of dog treats – has your dog tried Nutrish Treats? Oh my gosh, Oakley loves them y’all. He even tries to sneak them out of the his dog treat jar. And so does Lola, even though she has a jar of her own. See both of their noses! They know what’s good folks!
Because my dogs are like other members of my family, I want them to have products that are safely cooked in the USA with the world’s best ingredients with no artificial flavors, meat by-products or corn or wheat. And that’s exactly what Nutrish Treats are. They are real-meat treats that look and taste just like the real thing. Just look at the Rachael Ray™ Nutrish® Beef, Chicken & Bacon Meatball Morsels – don’t they look like the real deal?
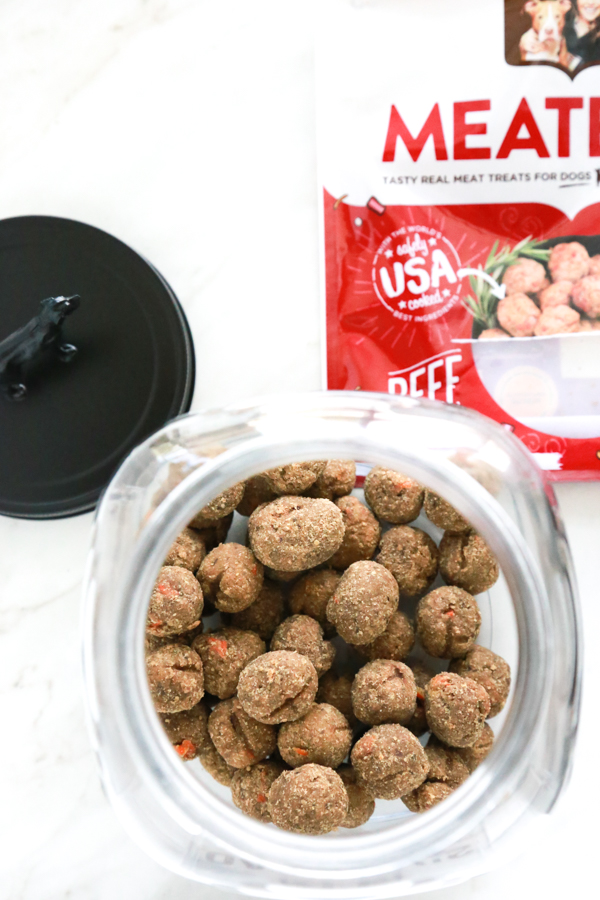
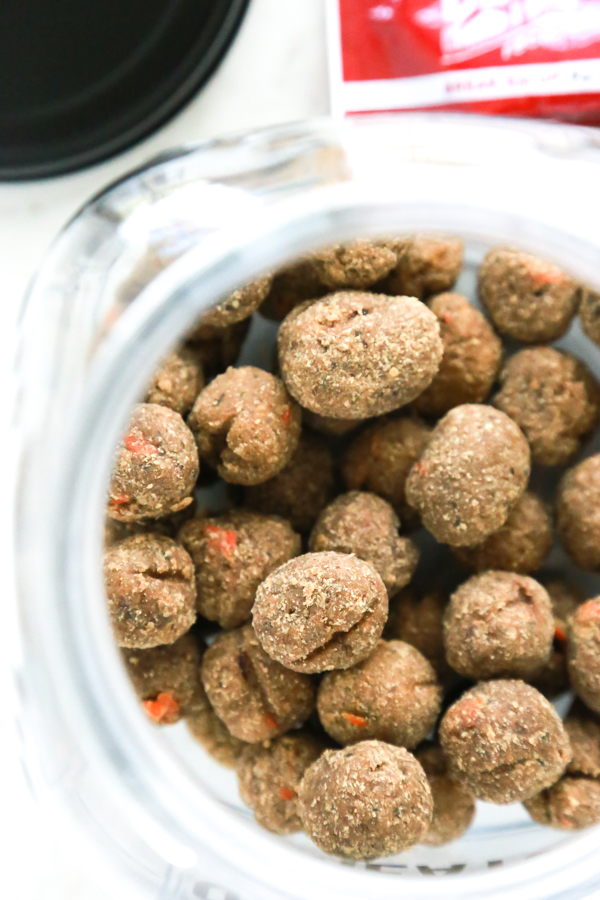
With real U.S. farm-raised beef as the #1 ingredient, no grains artificial flavors or meat by-products, and never any ingredients from China, I feel confident serving these to Oakley and Lola.
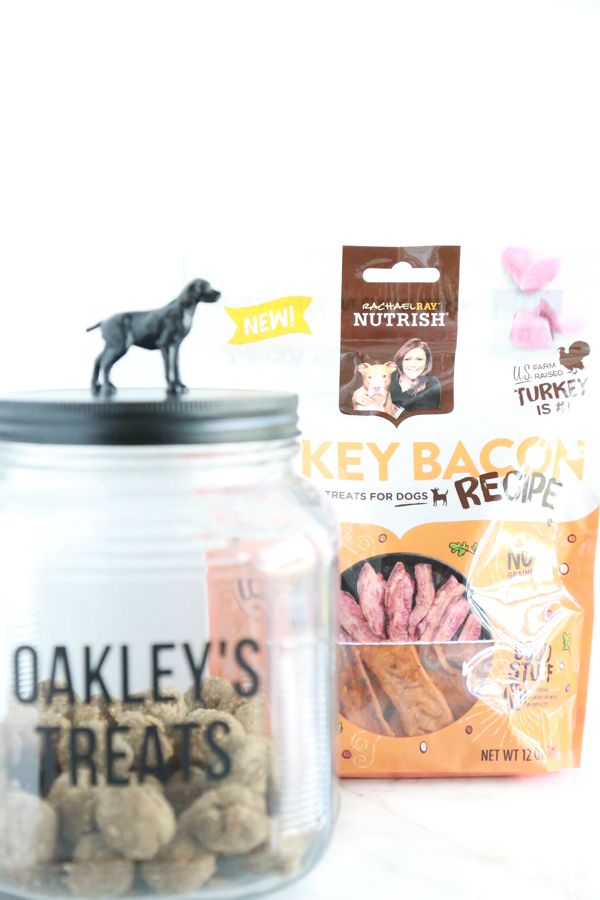
They also like the new Rachael Ray™ Nutrish® Hickory Smoked Turkey Bacon Treats. They are made with real U.S. farm-raised turkey as the #1 ingredient, contain no artificial flavors, meat by-products, or grains, and never include any ingredients from China. I like buying these because I feel like I’m getting double since I tear one in half and give half to each dog.
Over the years as a dog mom, I’ve learned that every dog is unique and different. But regardless of how well they listen or how well they behave, they all deserve a real meat treat! It feels good to give my dogs the “good stuff” that contains real ingredients with no artificial flavors, meat by-products, corn, or wheat.
Not sure where to buy Nutrish Treats? You can buy them at a variety of retailers. Click here to find a retailer close to you. Once you know where to pick them up, don’t forget to print this coupon to save yourself $1.50 on your purchase of Nutrish Treats.
Don’t forget to pin this Homemade Dog Treat Jar tutorial to your favorite Pinterest board so that you don’t lose it.

Please note: Like all treats, Nutrish Treats are intended for intermittent or supplemental feeding only. Please watch your dog to ensure Nutrish treats are thoroughly chewed before swallowing. Break into small pieces for smaller dogs.
Heather Johnson says
Your DIY treat jar is totally cute. This project would make a sweet personalied gift for a friend or family member with a dog too!
Joline says
Aww this is such a cute project! Our dog knows if something is for especially for him. We’ll have a blast making this.
Gingermommy says
With three big dogs these wouldn’t last long in my house! Love that jar too
Nellwyn says
This is such a cute and simple DIY! I want to make it even though I don’t even have a dog!
Sharon says
I really like this cool idea. I don’t have a dog but you give me an idea to make customized jars for gardening. Thanks so much!
Heather says
It turned out so cute! I leave our treats out (easier for bribery) so having a super adorable container to store them is a must.
Brandy says
That’s super easy! I am going to have to make Jenny the pug her own DIY homemade dog treat jar but first, we must make some treats!
Tami says
My dog loves treats. To have a jar would remind me to give her treats more often.
Tami says
My dog loves treats. To have a jar would remind me to give her treats more often.
brianne says
What a fun treat jar for pups. I’d love to make this for our dogs! Our jar is not nearly as cute!
Alicia says
This looks like a cute and fun way to store your dog’s treats. I don’t own a dog, but my in laws and my parents do so I’ll have to show them your post.
Marielle says
OMG! That turned out super cute! I love the little doggie toy you added on top of the jar!