Unlike the other play dough recipes I’ve shared so far, this Homemade Play Dough does require some cooking. But don’t let that deter you from making it. It’s a much heartier play dough and will last much longer than most others.
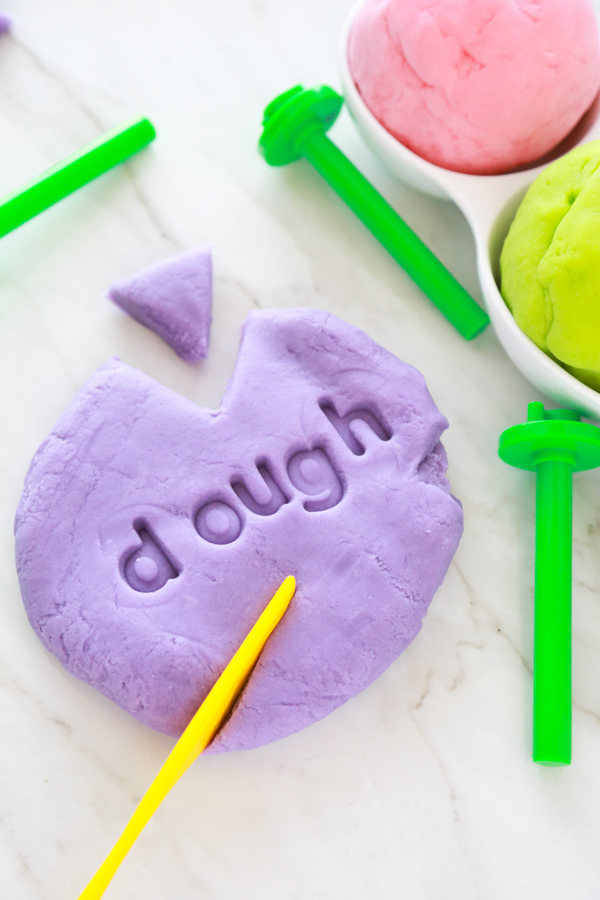
I’ve made lots of play dough recipes over the years and this homemade play dough recipe is hands down the best homemade play dough yet. It produces a perfect play dough each and every time, even if you don’t get the measurements absolutely perfect.
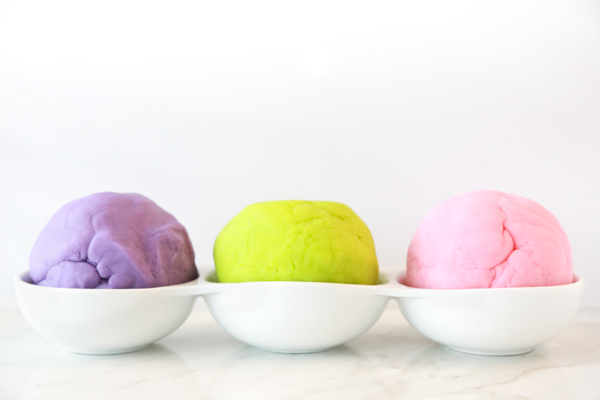
Play dough is a popular sensory activity with kids and there’s good reason why. It’s fun to play with, but making your own play dough adds to an already fun activity.
This homemade play dough recipe does require the use of the stove, but only for a very short time. If you’ve never made play dough before, I think you’ll be pleasantly surprised by how quickly you can whip up a batch or two of this play dough. I’m talking 5 minutes or less!
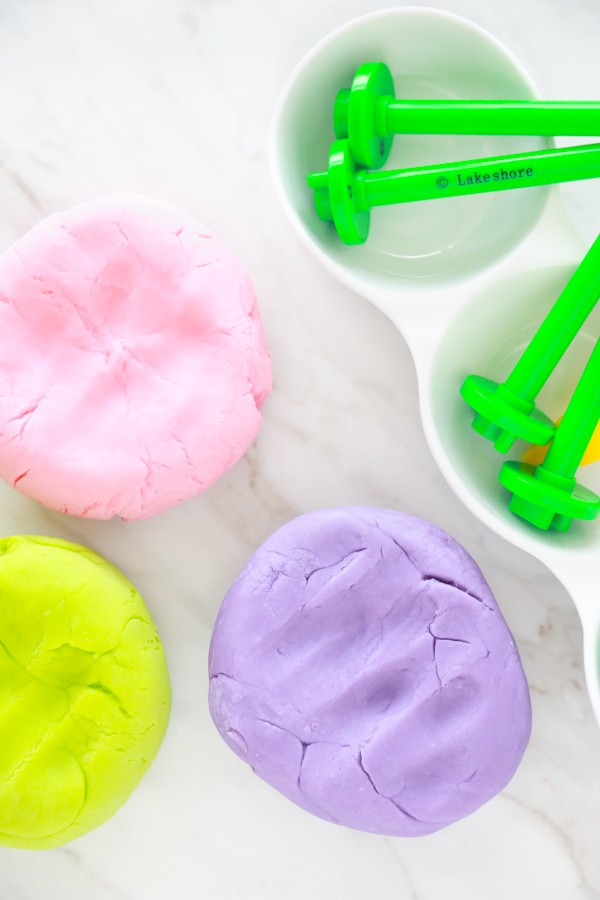
This recipe for homemade play dough makes a pretty big batch of play dough. If you want, feel free to halve the recipe if you don’t want one big batch of the same color. If you like having bigger batches, I recommend making a few so that you have multiple colors to play with.
Homemade Play Dough Recipe
Homemade Play Dough Ingredients
- 1 cup flour
- 2 teaspoons cream of tartar – If you plan on making more batches of homemade play dough, I recommend buying a bigger bottle of cream of tartar to save money. Those little jars at the grocery store are super small and will only last for a few batches.
- 1/3 cup salt
- 1 cup water
- 1 tablespoon vegetable oil
- food coloring
How to Make Homemade Play Dough
In a 2 quart saucepan, pour in the flour, cream of tartar, and salt and stir to combine.
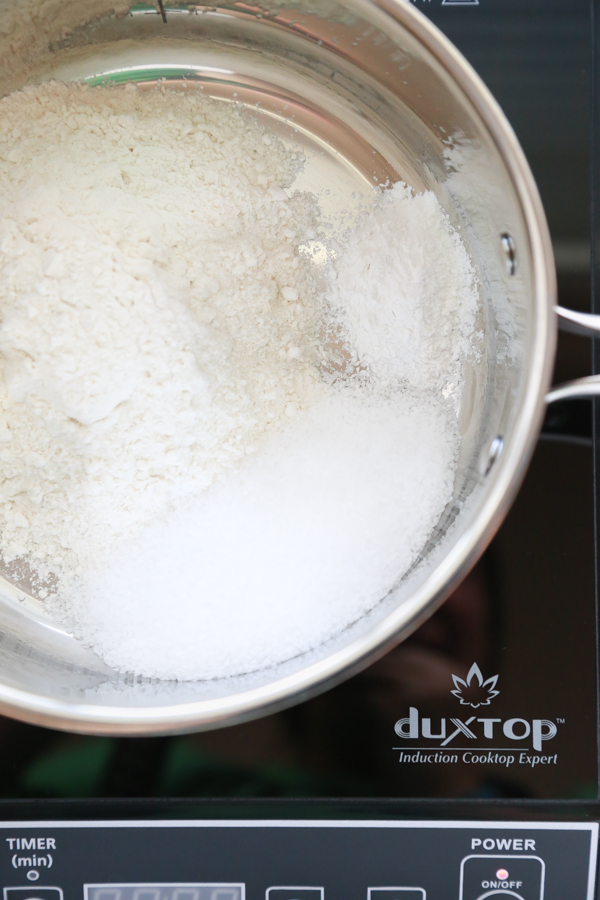
By the way, I love this portable cooktop pictured in the photo above. I use it when I need an extra burner when cooking, but I also like using it when we’re making play dough because we don’t have to be standing at the stove. We can be sitting at the table making and playing all together.
Pour in the water and vegetable oil and stir until most of the lumps are gone. If a few lumps remain, it’s okay. You’ll be able to work them out later.
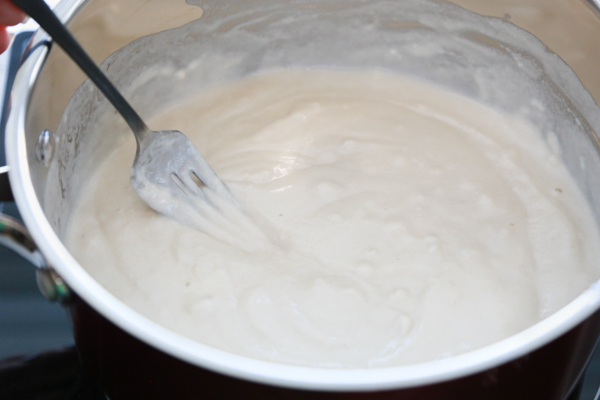
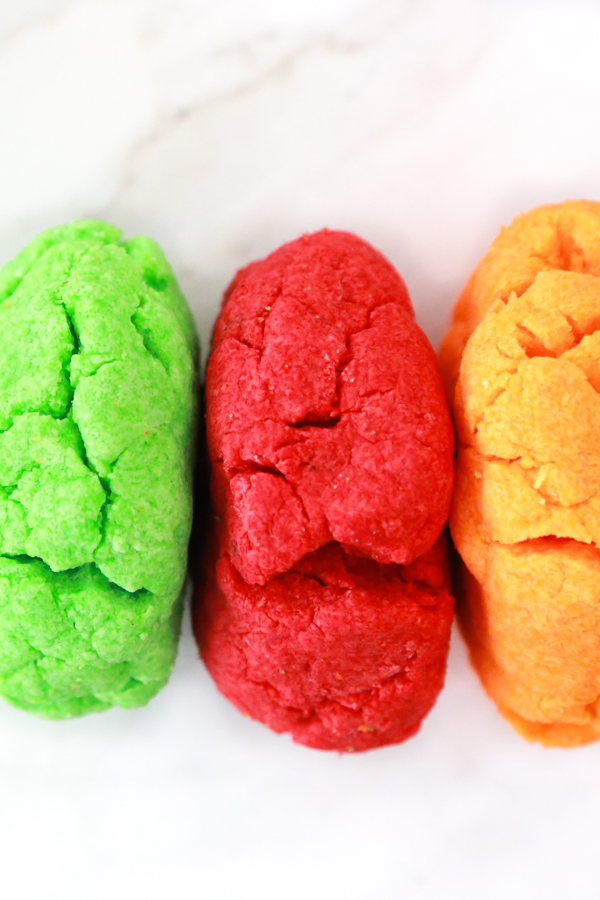
Add in the food coloring and stir well to distribute the color throughout the mixture. I like my colors bright and saturated so I use a lot of food coloring. In this batch I used neon gel coloring and I love how the colors turned out.
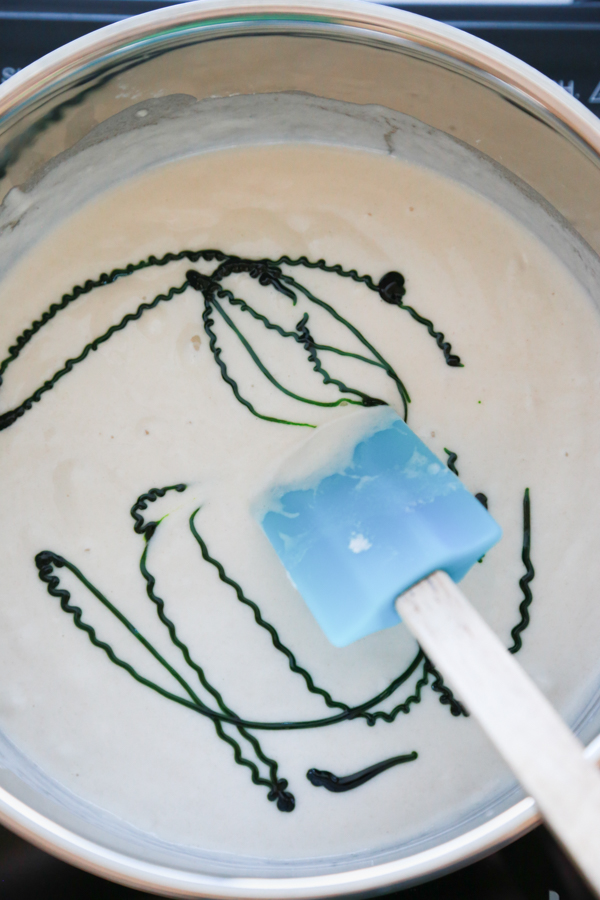
Turn the burner on low to medium heat and stir without stopping. As you stir you will notice the dough getting thicker and lumpy again. Keep stirring until the dough starts to stick to whatever you are stirring with. Once it sticks together like one big blob, you know it’s done. The photo I’ve included below is when it starts getting lumpy. The next photo (although a different color) will be once it’s actually done.
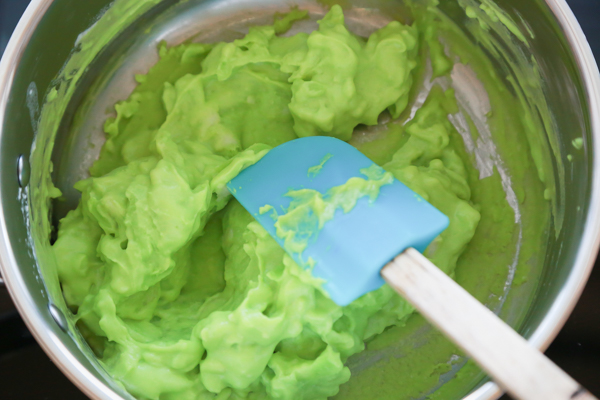
Remove the homemade playdough from the pan and turn onto a flat surface lined with wax or parchment paper to cool. (I forgot to take a photo of the green batch but this is what it will look like when you put it on wax or parchment paper. This is straight out of the pan.)
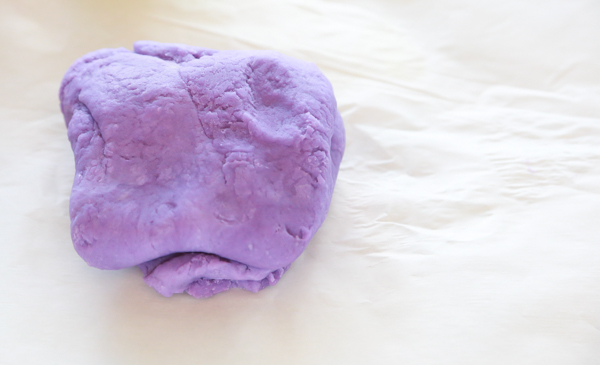
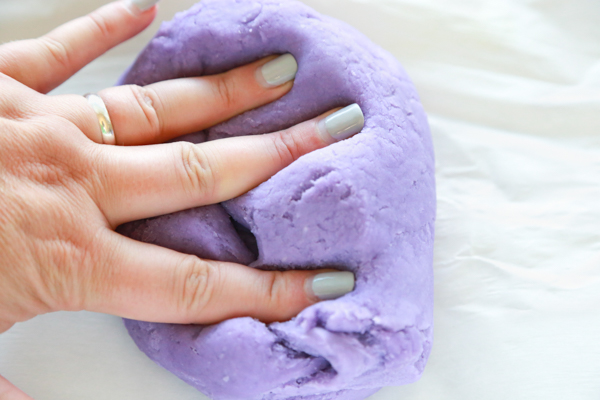
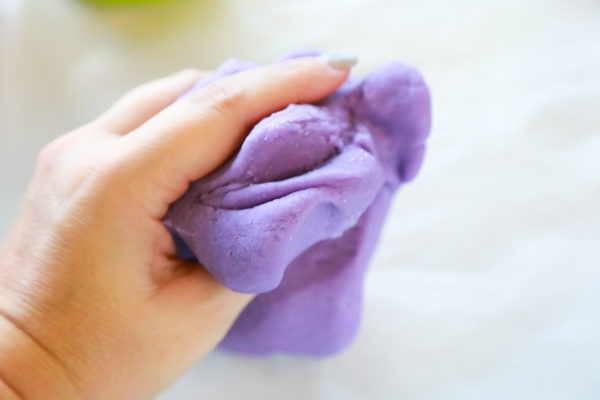
Once the play dough is cooled and comfortable to the touch, knead the play dough for a couple of minutes to work out any of the remaining lumps.
How to Store Homemade Play Dough
The key to keeping your homemade play dough in playable condition is to store it in an airtight container. It really can be anything that doesn’t allow air in or out.
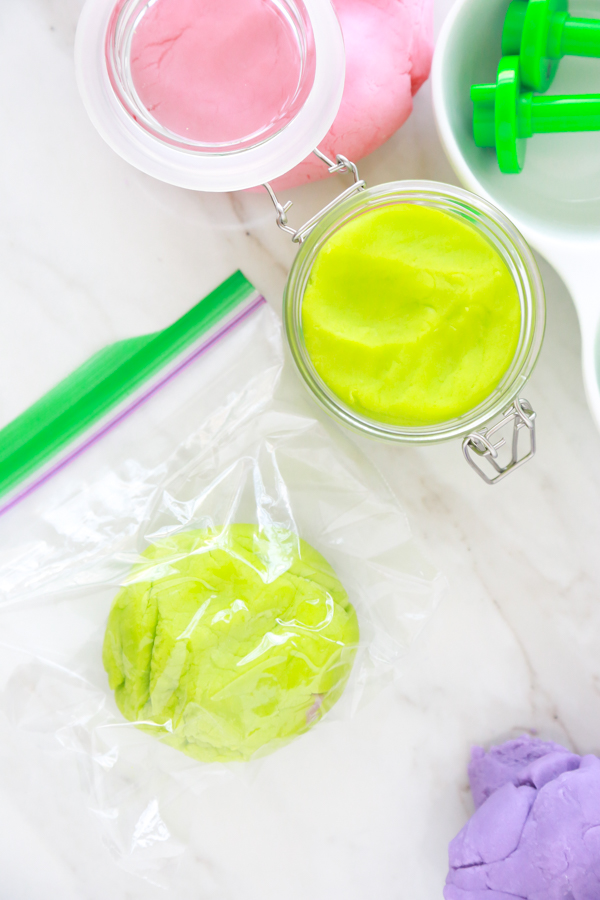
How I store my play dough is dependent on what I have at home. Sometimes I store it in plastic baggies, sometimes I store it in plastic containers, and sometimes I store it in glass containers. It really just depends on what is within reach and available.
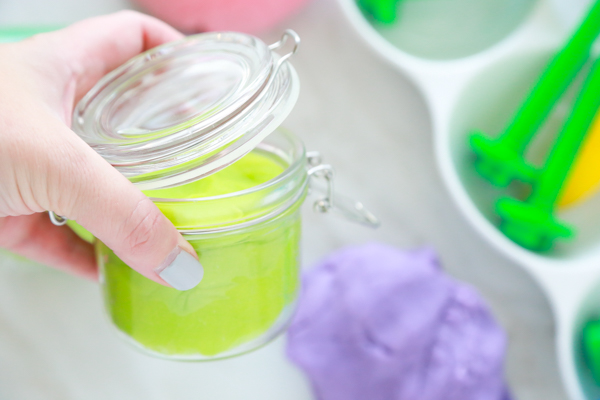
Obviously some ways of storing play dough are prettier than others and it’s basically just however you want to store it. I love storing it in those little glass jars you can get from the Dollar Spot at Target. Or if you catch Hobby Lobby on a 50% off glass sale you can score some pretty cute glass jars really cheap.
Note: If at any time your homemade play dough becomes dry, add a little bit of water and work it in to the mixture.
Play Dough Play Tips
There really isn’t a right or wrong way to play with homemade play dough. I’m all about imaginative play so we like playing with different kinds of tools, molds, stamps, etc. If you don’t have play tools, using different things from your kitchen works just as well. But if you’re on the hunt for some play dough play tools, this set includes 44 pieces and is a good assortment of tools.
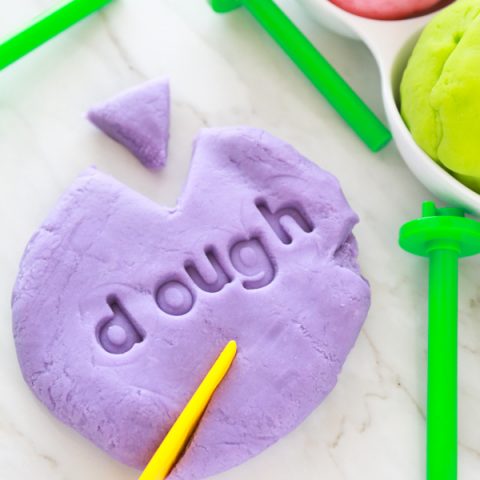
Homemade Play Dough
A perfectly pliable dough that is super fun to play and costs very little. It's the perfect Homemade Play Dough recipe.
Materials
- 1 cup flour
- 2 teaspoons cream of tartar
- 1/3 cup salt
- 1 cup water
- 1 tablespoon vegetable oil
- food coloring
Tools
- 2 quart pot
- whisk
- spatula
- wax or parchment paper
Instructions
- In a 2 quart saucepan, pour in the flour, cream of tartar, and salt and stir to combine.
- Pour in the water and vegetable oil and stir until most of the lumps are gone. If a few lumps remain, it’s okay. You’ll be able to work them out later.
- Add in the food coloring and stir well to distribute the color throughout the mixture. I like my colors bright and saturated so I use a lot of food coloring.
- Turn the burner on low to medium heat and stir without stopping. As you stir you will notice the dough getting thicker and lumpy again. Keep stirring until the dough starts to stick to whatever you are stirring with. Once it sticks together like one big blob, you know it’s done.
- Remove the homemade play dough from the pan and turn onto a flat surface lined with wax or parchment paper to cool.
- Once the play dough is cooled and comfortable to the touch, knead the play dough for a couple of minutes to work out any of the remaining lumps.
Notes
This recipe makes one big batch. If you want to make different colors use separate pots and divide the recipe by how many colors you want to make. I don't recommend dividing into more than 3 colors per batch.
The possibilities are endless when playing with homemade play dough. Make sure you pin this to your favorite Pinterest board so that you won’t lose this perfect play dough recipe.
If you loved this play dough recipe, then you’ll really love these:
susan says
You have really great colors. Is your trick to just use a lot. Mine never turns out so pretty.
Crystal says
I use a lot, but I also used neon gel coloring for this recipe. I love how the colors turned out.