These DIY No Sew Bow Ties are so easy to make and lets face it – they’re pretty adorable, too!
I’m sure you’ve heard, but just in case you haven’t, I have twin nephews! They’re so perfect and squishy – I just can’t stand it.
And in true Aunt style I’ve been trying to spoil them rotten. Which is actually really easy to do since I see them all the time.
I just think little boys in bow ties are so darn adorable. And when it’s a little itty baby, it’s so much cuter. Right?
But buying 2 of everything, it gets kind of expensive, y’all. So I’ve just been making my own. Since it’s so easy to do and incredibly inexpensive, I thought I’d share just how easy it is to make these DIY No Sew Bow Ties.
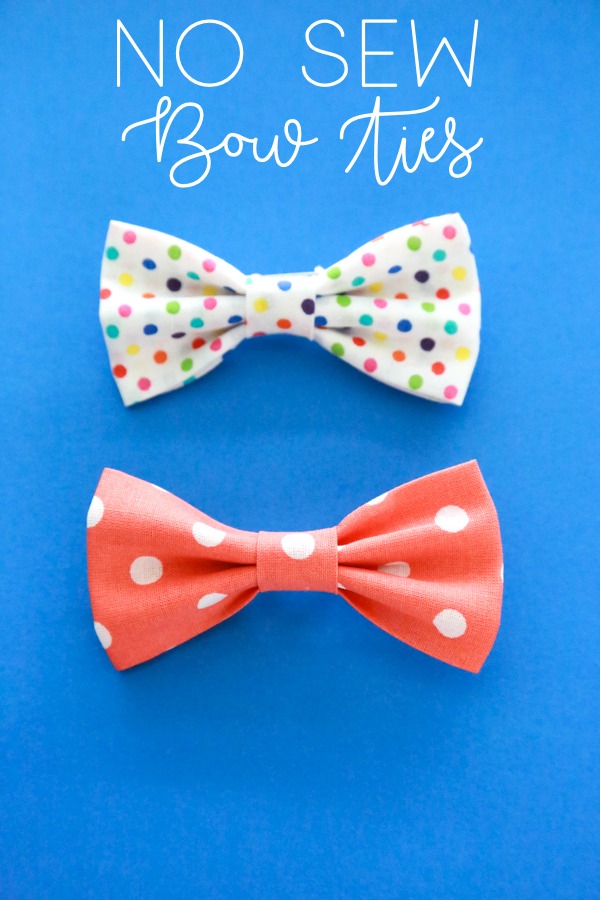
I’m sure there are other ways to make DIY No Sew Bow Ties, but this is the easiest way that I’ve found to date. If I happen to figure out a different way, I’ll be sure to let you know.
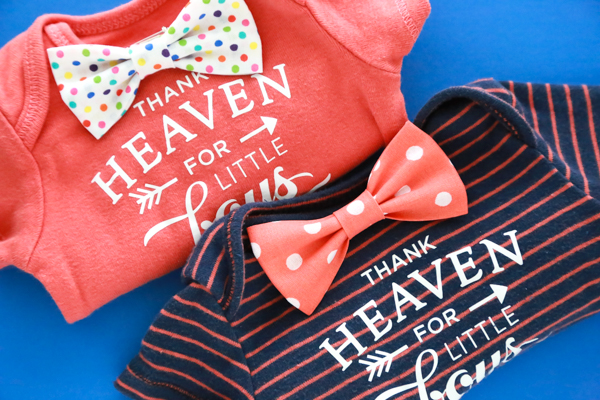
How to Make DIY No Sew Bow Ties
DIY No Sew Bow Tie Supplies
- 4.5″ x 7″ piece of fabric
- 4.5″ x 2″ piece of fabric
- iron
- scissors
- hot glue gun + hot glue sticks
- bar pins
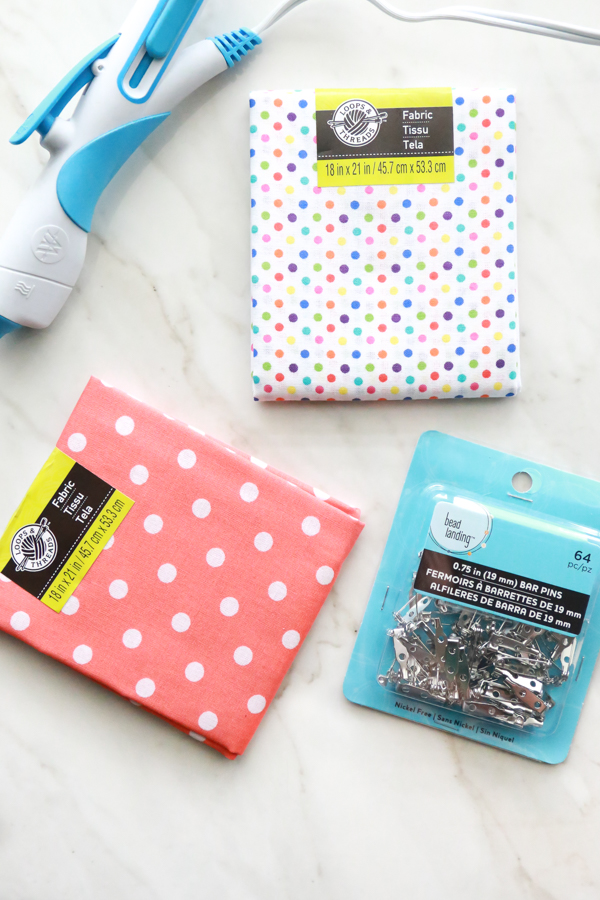
To make these No Sew Bow Ties, first you’ll need to cut your fabric to the correct size. With the measurements I gave you above, you’ll get smaller, chubbier bow ties. If you want longer, skinnier bow ties, cut your fabric to either 4.5″ x 9″ or 4.5″ x 11″.
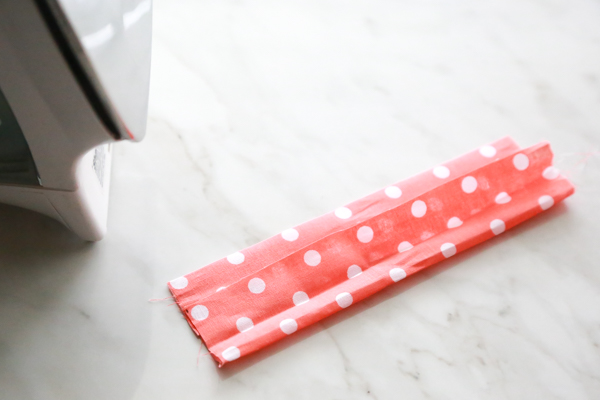
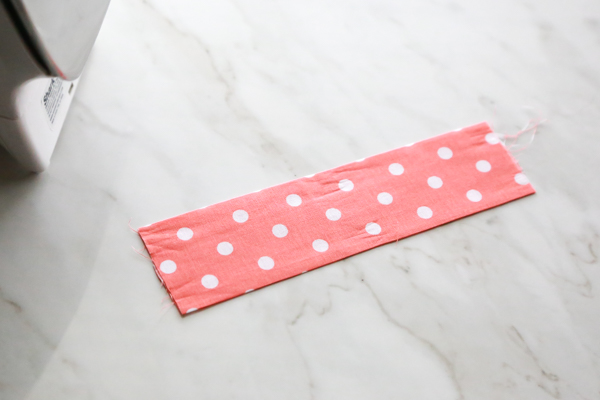
Next, fold the fabric lengthwise into thirds and iron it flat.
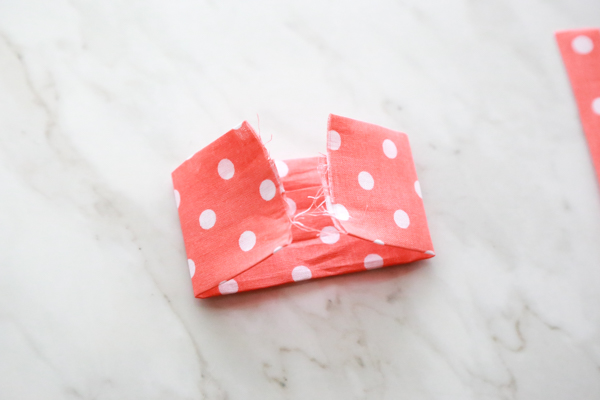
Then, fold the ends in towards the middle and iron flat again.
Tip: If you have scrap fabric laying around, use that instead of buying new fabric. This is a great project for using up some of that scrap fabric you didn’t think you could do anything with.
If you want to, at this point you can put a little hot glue between the layers just to give it a little reinforcement.
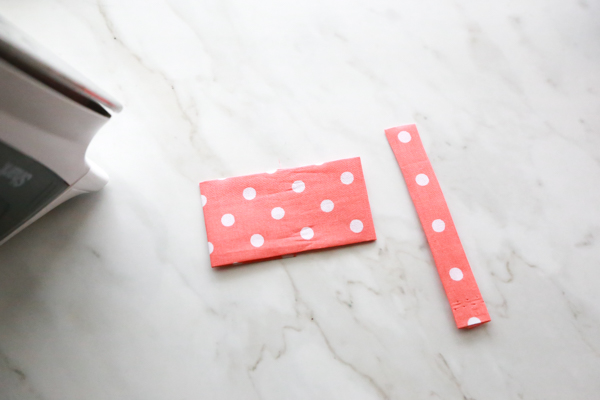
Now, take the other smaller piece of fabric and fold it into thirds lengthwise and iron.
Take the larger piece of fabric and pinch from top to bottom to make a bow. This may take a few times before you get it to look right. Keep trying, you’ll get it.
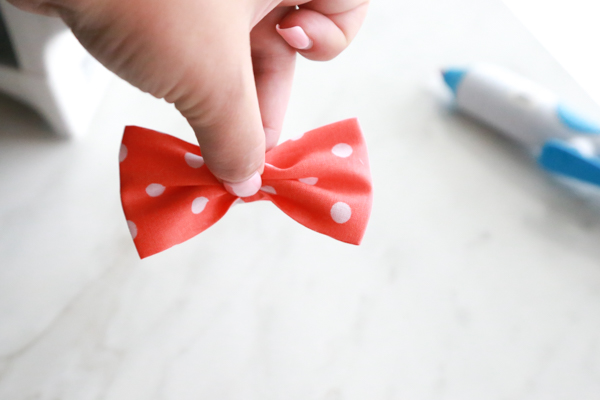
Keep a tight grip on the bow and take the smaller piece of fabric and wrap it over the pinched part of the bow. The ends of the smaller strip should be facing the back of the bow. Make sure you keep a tight grip on the bow or you’ll have to start over.
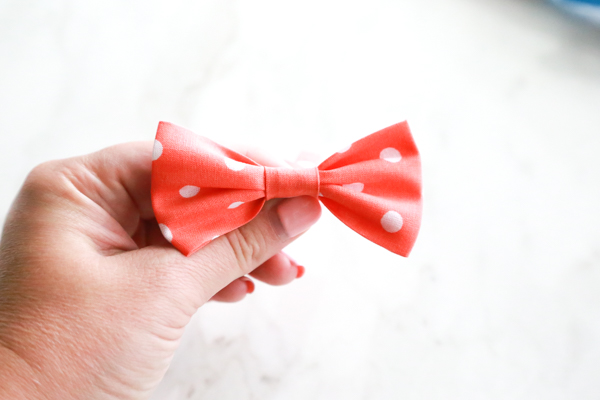
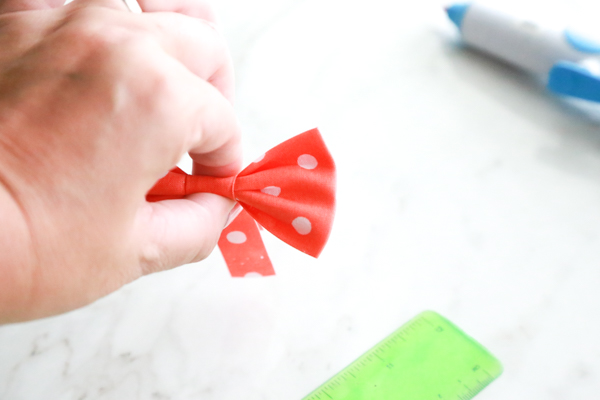
Using a pair of scissors, trim the excess fabric from the back and secure it with a little bit of hot glue.
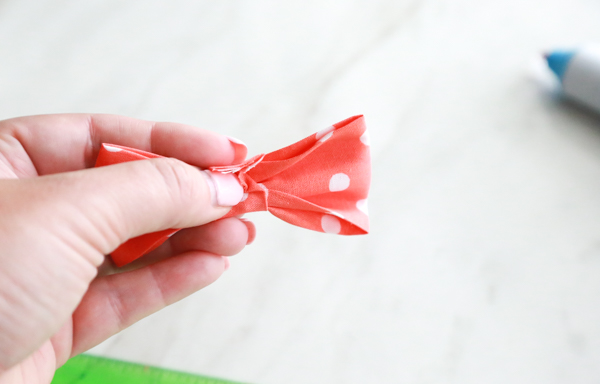
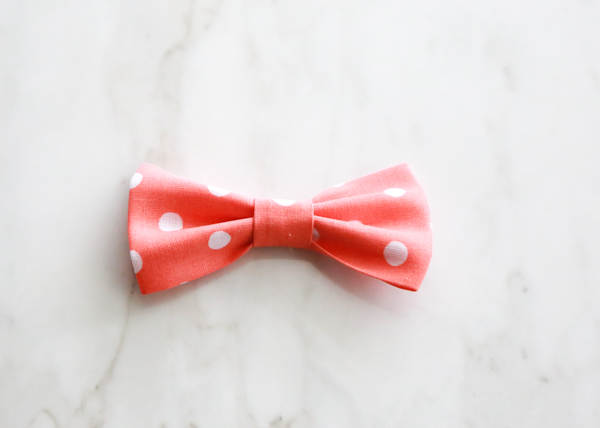
Now, take a bar pin and put a small dab of hot glue on the back of it. Adhere it on the back of the bow tie. I put mine towards the top of the bow tie because it seems to look better when it’s actually being worn. When I put it in the middle, it looked a little droopy while being worn.
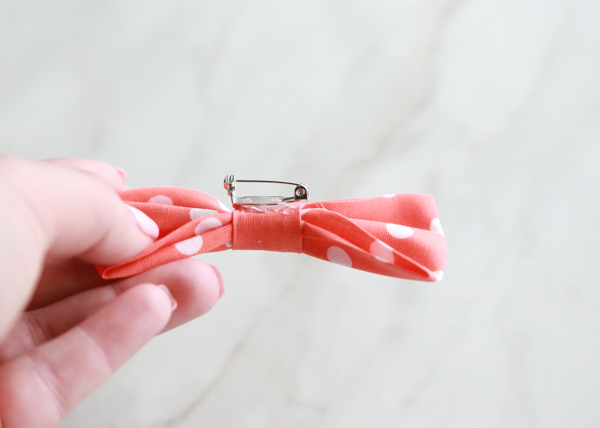
It doesn’t look very pretty from the back, but it works! If you’re a bit neater with the hot glue it won’t look so bad.
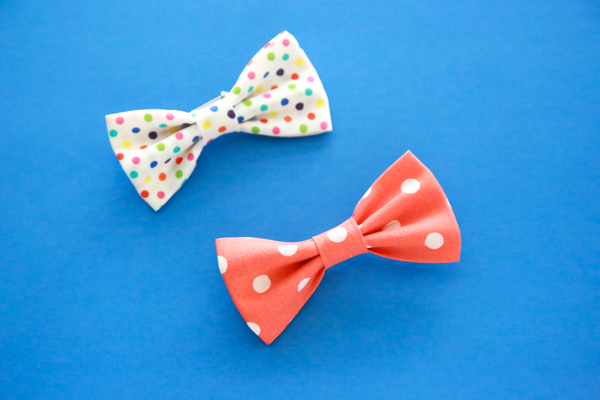
Affordable Homemade Bow Ties
You can easily spend about $7 – $10 on a bow tie. But not when you make them yourself you save yourself a lot of money. Each of these affordable homemade bow ties cost me only 31 cents to make. Here’s the breakdown:
- Fabric $1.99 | each piece of fabric will yield at least 8 bow ties | 25 cents
- .75″ bar pins $2.99 for 64 | 5 cents a piece
- I don’t remember how much the hot glue costs but since it was so minimal I’m going to say it cost me 1 cent in hot glue per bow tie.
31 cents for a bow tie!
These DIY No Sew Bow Ties would make a perfect gift for a baby shower, birthday, etc.
Don’t forget to pin these affordable homemade bow ties to your DIY board on Pinterest.
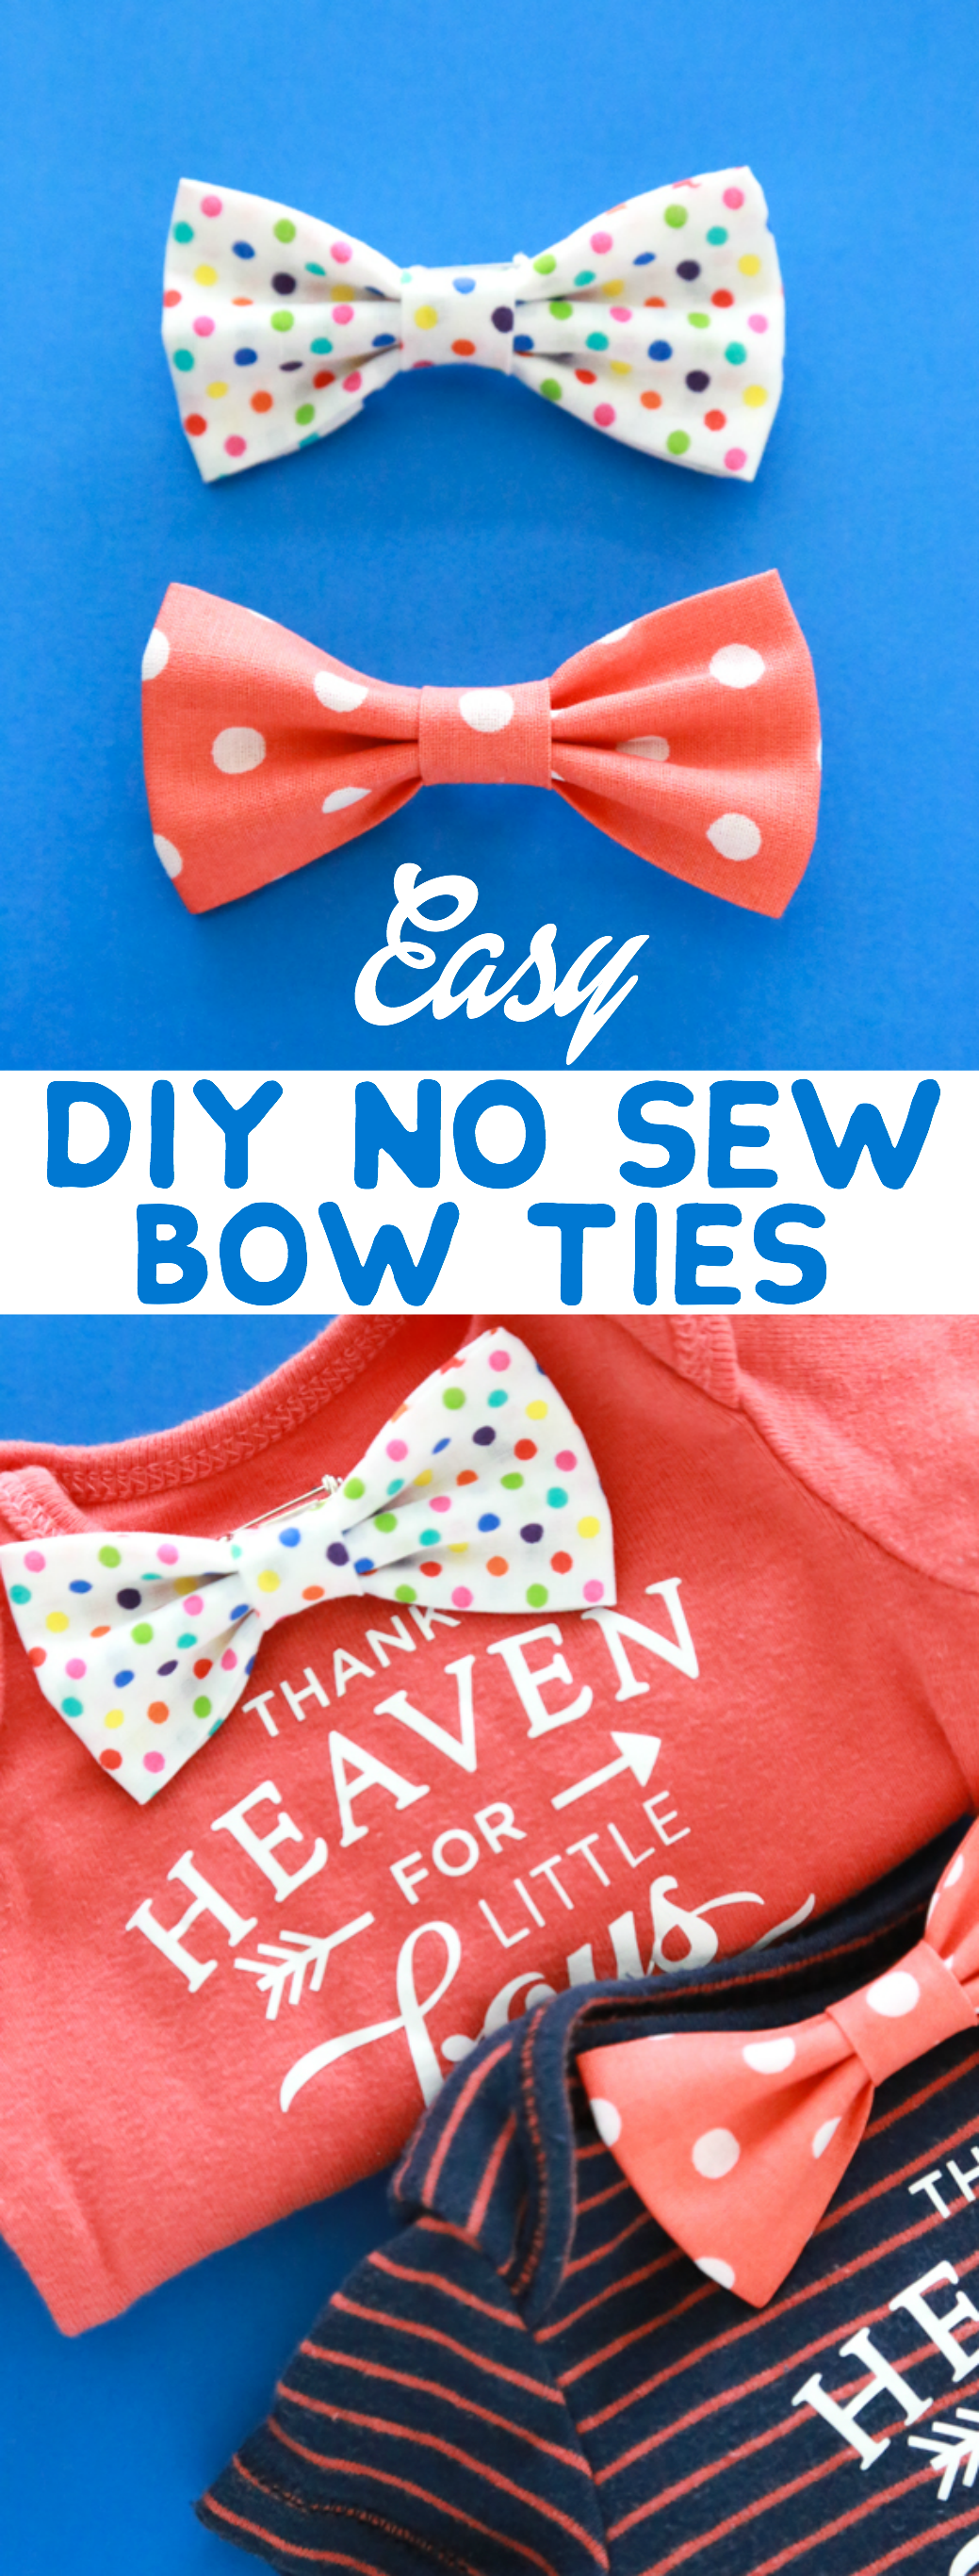
DIY No Sew Bow Tie Tutorial
Easy DIY No Sew Bow Ties
Make your very own bow ties at home quickly and affordably with this EASY DIY No Sew Tutorial.
Materials
- 4.5″ x 7″ piece of fabric
- 4.5″ x 2″ piece of fabric
- hot glue gun + hot glue sticks
- bar pins
Tools
- iron
- scissors
Instructions
- Cut your fabric into two pieces, one 4.5" x 7" and the other 4.5" x 2". If you want longer, skinnier bow ties, cut your fabric to either 4.5″ x 9″ or 4.5″ x 11″.
- Next, fold the fabric lengthwise into thirds and iron it flat. Then, fold the ends in towards the middle and iron flat again. If you want to, at this point you can put a little hot glue between the layers just to give it a little reinforcement.
- Now, take the other smaller piece of fabric and fold it into thirds lengthwise and iron.
- Take the larger piece of fabric and pinch from top to bottom to make a bow. This may take a few times before you get it to look right. Keep trying, you’ll get it. Keep a tight grip on the bow and take the smaller piece of fabric and wrap it over the pinched part of the bow. The ends of the smaller strip should be facing the back of the bow. Make sure you keep a tight grip on the bow or you’ll have to start over.
- Using a pair of scissors, trim the excess fabric from the back and secure it with a little bit of hot glue. Now, take a bar pin and put a small dab of hot glue on the back of it. Adhere it on the back of the bow tie. I put mine towards the top of the bow tie because it seems to look better when it’s actually being worn. When I put it in the middle, it looked a little droopy while being worn.
Notes
If you have scrap fabric laying around, use that instead of buying new fabric. This is a great project for using up some of that scrap fabric you didn’t think you could do anything with.
Love DIY projects? Here are some more:

Erin says
Love this! Definitely going to use your tutorial here for my triplet boys’ bow ties for their first birthday party! I’ll probably just make a neck strap in the same fashion. I do sew, but so appreciate no sew ideas when I can find them!
Theresa says
I’ve been combing the inter webs for no-sew bow ties and this is by far the easiest to construct. I’m hosting a baby shower and need a simple method so each guest can make a bow tie onesie for the newest tiny gentleman. One aspect I will change will be to replace the pin with Velcro attached to the back of the tie and the onesie. I’ve had one too many pin work loose and stab me, I wouldn’t want it happening to a tiny guy. Thanks for the tutorial!