Candy, pumpkin carving, costumes…what’s not to love? I adore Halloween, and so my family and I have begun our decorating and costume planning. Pinterest has been taken over by string art, and it’s no surprise why. It’s a simple and inexpensive way to add some DIY art and texture to your home. My girls have been so excited about the chance to help with this DIY Halloween String Art Project.
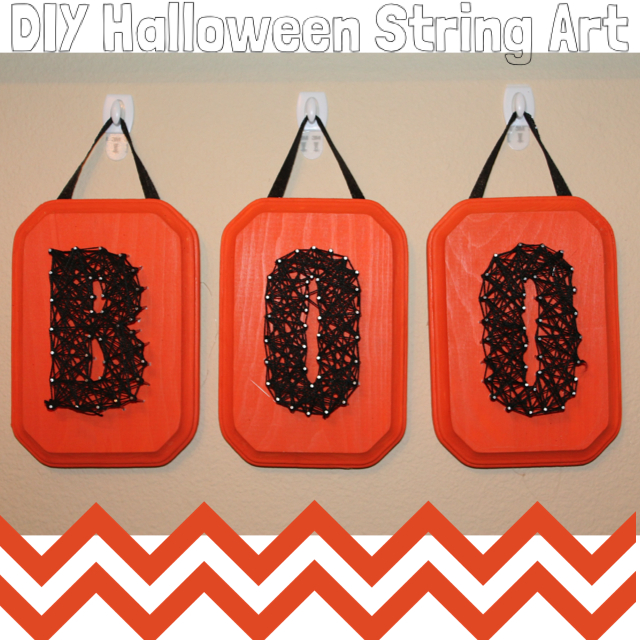
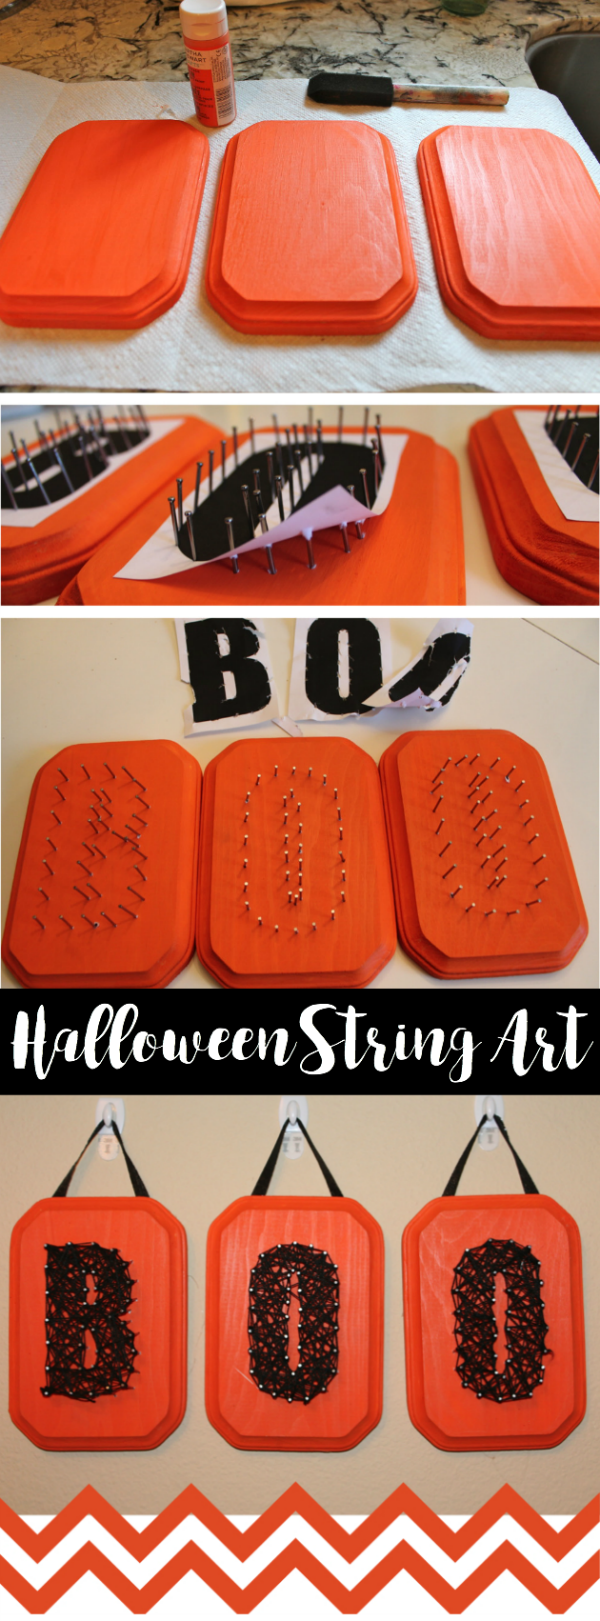
Halloween String Art
Supplies needed:
- 3 wood plaques (mine were around $1 each)
- orange paint and paintbrush
- hammer and nails (use nails with a larger head to keep string from constantly slipping off)
- string, yarn, or embroidery floss
- BOO template
Directions:
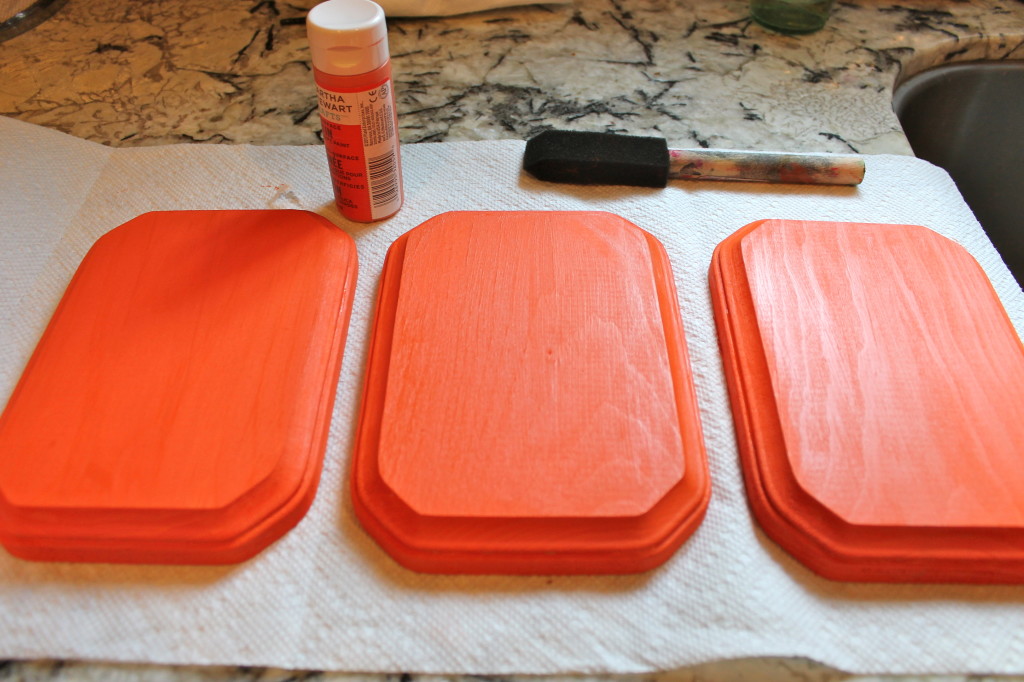
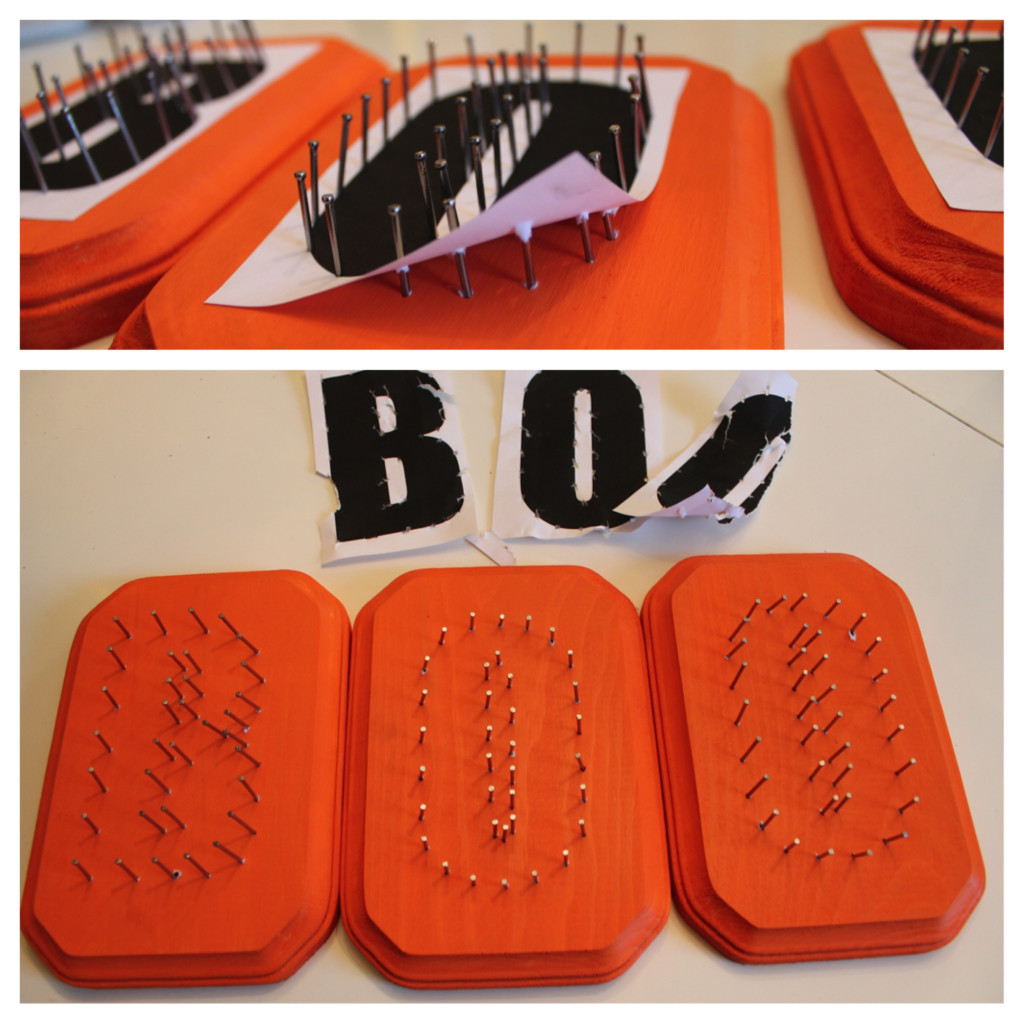
Step 1: Paint the wood and let it dry.
Step 2: To make my BOO template, I found a font I liked on my computer and printed out the letters. I trimmed the letters down a little, but didn’t waste time by cutting the letters out perfectly.
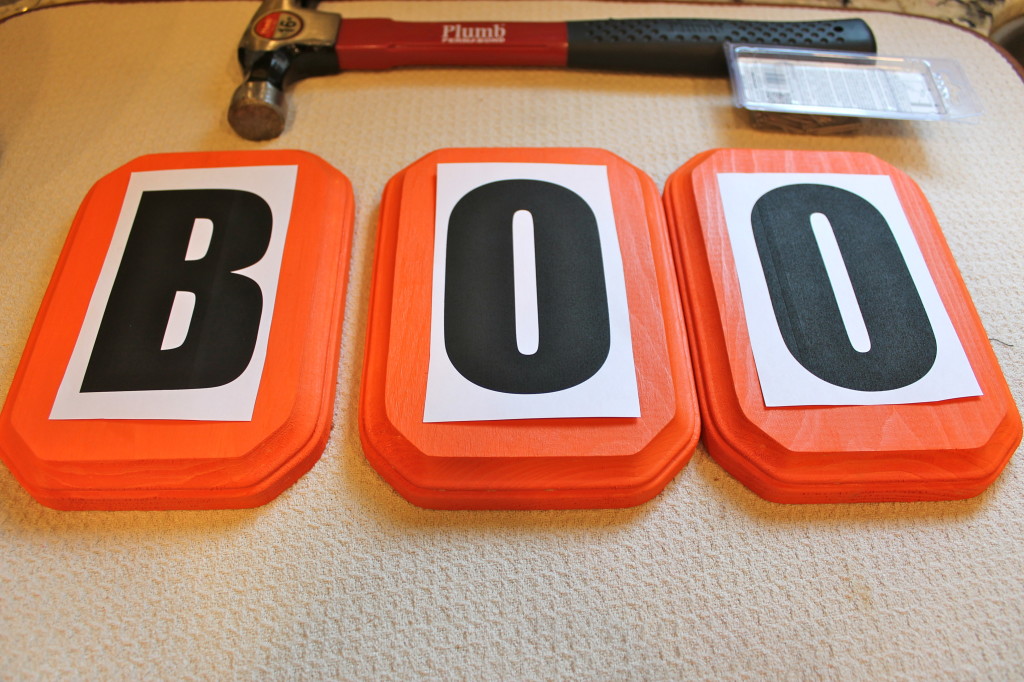
Step 3: Using the template as a guide, I hammered the nails to form the outside and inside of the letters. Work one section at a time for best access to middle areas. My helper handed me nails one at a time, but hammering should be done by adults. Just as a note: her hand was broken prior to this project. I promise it was not my poor carpentry skills.
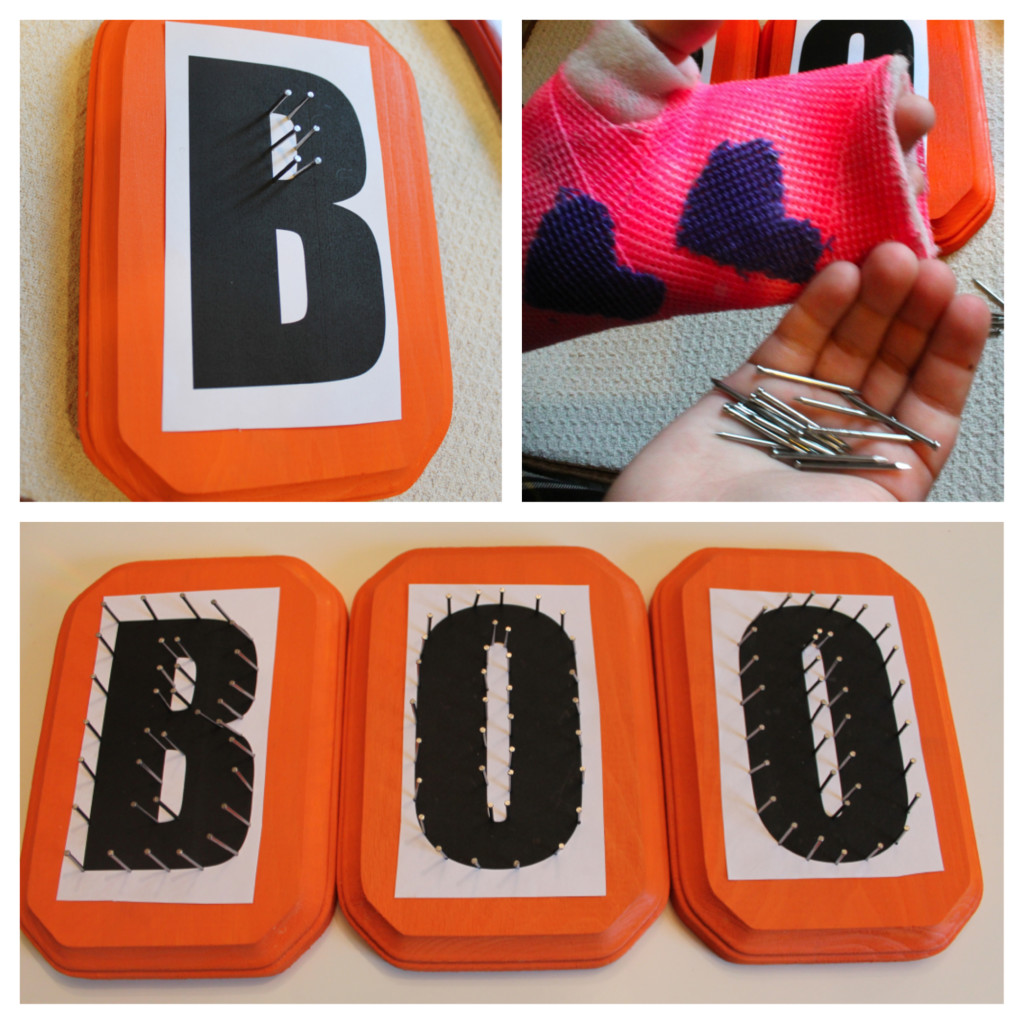 Step 4: Remove the template by carefully tearing away the paper. The nails should be pretty secure within the wood so I didn’t have to stress about pulling them out.
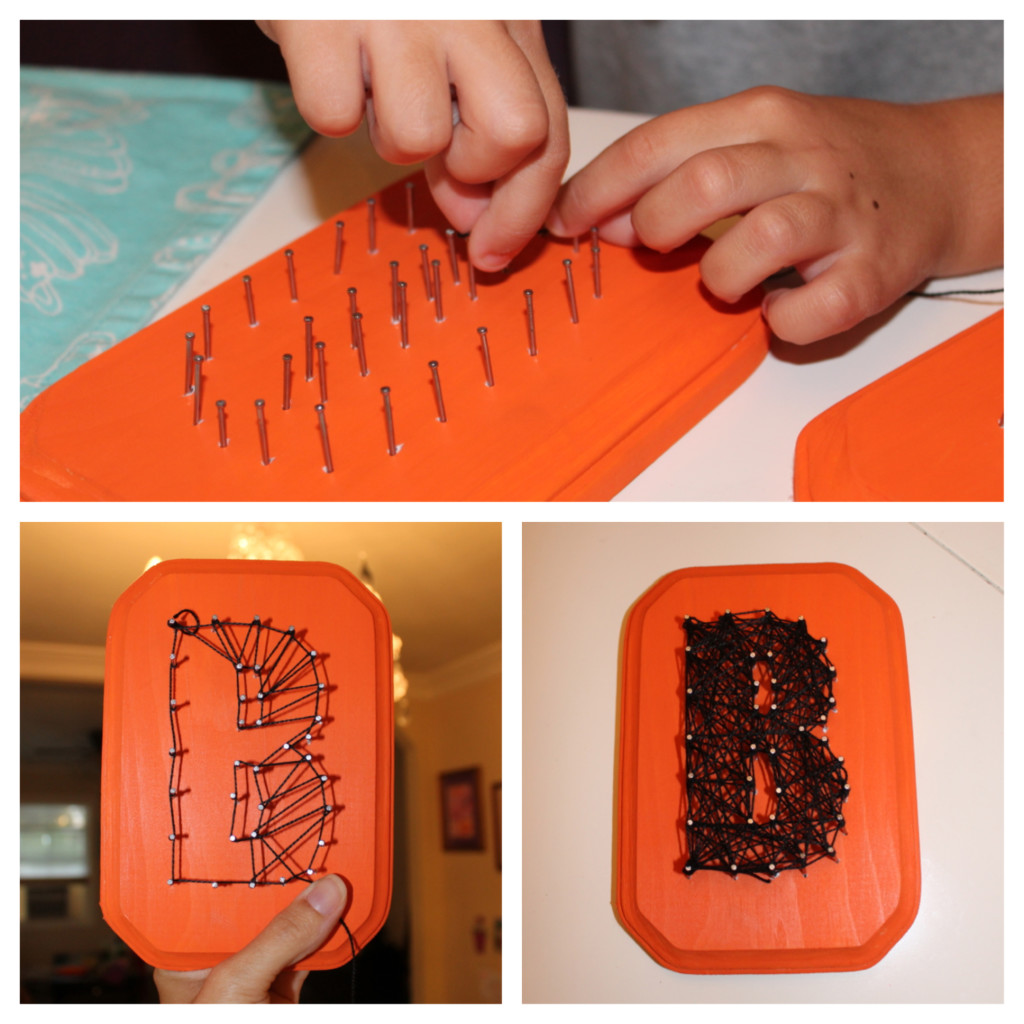
 Step 5: Starting stringing! This is where my girls took over. Being random is more challenging for me than it is for them, so it probably turned out better than I would have done myself! Keep an eye on younger string artists to ensure that they don’t cover the sections that should be left blank (like the inside of the O’s). Just unravel the string if a mistake was made or if you just don’t like the look of a section.
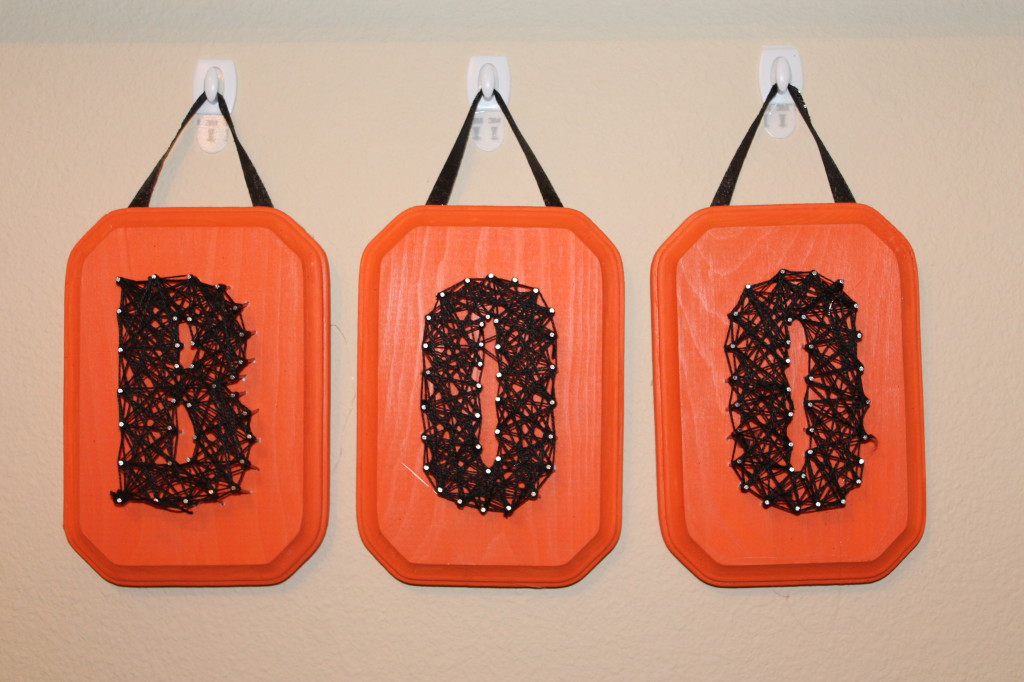
 Step 6: I wanted my art to hang on the wall, so I added glittery ribbon to the back of each. Then using 3M Command Hooks, I hung them on the wall.
 Holidays are a great time to let your creativity flow. Get out your needle and thread, duct tape, or bedazzler…and get ready to impress everyone, including Martha Stewart, with your Halloween creativity!
Marysa says
Very cute and creative!
Emily says
How cute! You could do similar ones for so many different holidays, occasions or get togethers.
Melanie says
Absolutely! Words are super simple so it’d be a snap to make something like “Thanks” for November.
Amber Edwards says
Oh that is so clever! And it looks fantastic! I bet you get a lot of compliments on those when people come to visit! So festive!
Melanie says
My younger daughter brought one of the letters to school with her because she was so proud. Her teacher was very complimentary, but a little baffled at first! They definitely make more sense as a set.
The Mom Jen says
That is really cool, you can do this for so many different holidays with different words and colors. Love it!
Pam Carrie says
We love Halloween at our house, too! Your decorations are bootiful!!! How fun to have little hands involved…all the more enjoyable!
Melanie says
Absolutely, Pam! They make marvelous assistants!
Jennifer says
This is SO cute. I think I need to do it with my girls! thanks for sharing
Melanie says
Have fun! Depending on the age of your children, they might be able to complete more steps of the project themselves.
Jenn- The Rebel Chick says
Okay this is really cool, and so affordable to make. Probably cheaper then going out and buying the cheap premade stuff.
Melanie says
The total project cost me less than $10, which includes the plaques, nails, string, and paint. I have a mixture of premade stuff and homemade in my house, but the homemade stuff is what makes our house feel festive.
Tiff @ Babes and Kids says
I love the creativity behind this, and it’s something I think I could do with the kids too. It makes such an adorable decoration.
Melanie says
Enjoy it! My kids love admiring their projects, as I’m sure yours do.
Donna says
How cute! How long did it take to make them?
Melanie says
It took about an hour total. Painting and stringing went pretty quickly, but the hammering was time-consuming.
Mellisa says
How cool is this!! What a great craft for Halloween.
karin says
Melanie. This is great. I’m going to do with Ava and Chloe.
Melanie says
If Chloe is struggling, try cutting out a spider shape or something else spooky from thick paper. Then punch holes along where you’d like her to string & she can lace it. Harper made a great outline for the letters, but needed guidance on going back and forth across nails.
HilLesha says
That is really pretty!
Penelope (NYC Blogger) says
Love it! That is really unique and it looks like a web!
Melanie says
I thought so too! Maybe I need to add plastic spiders to it. 🙂
Tammy says
That is super cute! I think I’d like to make something like that for Fall saying “thanks” or for Christmas saying “Merry”!
Melanie says
Those are great ideas! Perhaps a Christmas tree too???
Kelly @ Texas Type A Mom says
This is adorable and such a creative idea!
Nichol says
Ooh a craft I can do! Absolutely love this
Robin Gagnon {Mom Foodie} says
I wonder if my daughter would like wrapping the string.
Colleen says
I love how it looks like a spider web.
Melanie says
I love that too! I added spiders to the top of mine a few days ago to make it even more spider-y.
Angela says
I just love this! It’s not only super cute, but looks fun to make.
Melanie says
It is! The hammering became a little tedious, but then I got to sit on the couch with my kids to help with the stringing. That was the best part!
Marcie W. says
This is a great craft idea and I especially like the fact that the project will last for years to come!
Melanie says
It’s very durable. My nail heads were almost non-existent so I’ll have to be careful when packing it away to make sure the string doesn’t slip off.
courtney says
This is so cool! I just love how easy it is too!
Lolo says
That is adorable! I love that it is Halloween craft time!!
Melanie says
Me too! And I’m loving that it’s candy corn time!
Lynda says
Those are cute. You could do that with NOEL at Christmas, too.
Melanie says
The possibilities are endless! NOEL would be adorable. I could fill my house with them…JOY, HOPE, etc.
Emily says
That is really cute! It’s different then others I’ve seen too!!
Kathleen says
That is so cute and look so easy to do.
Anne - Mommy Has to Work says
That’s really cool! I love it!
Stacy Schott says
Love this! Looks super easy!
Ty @ Mama of 3 Munchkins says
OMGosh! That’s so freaking cool and I bet my kids would love to make something like this for Halloween!
Shell Feis says
That is SUCH a cute idea! I don’t trust myself with a hammer but I may enlist hubby’s help & try this out!
Melanie says
The string art is pretty forgiving. Very few of my nails were nailed perfectly straight. But grab the hubby anyway; a family project makes it even more fun!
Theresa says
This is adorable!
Lisa says
So cute! I may have to try this!
Vanessa: thequeenofswag says
That’s a very cute and fun idea for halloween!
Toni says
This project is so cute and looks easy to do! I can see this hanging in my front entrance as we speak. Can’t wait to try it out!
Mellisa says
What a cute craft idea for Halloween!
Betty Baez says
These are awesome!!! i want to do this with my little ones!
Rachel @ Following In My Shoes says
Oh, my goodness — that is absolutely adorable!!!!!
Tricia @ Night owl mama says
very clean cute and creative art luv it
Jenn says
Love! So spidery. 🙂
Theresa says
That is so neat! My kids love doing stuff like that!
Amber K says
This is incredibly creative, I love it.
Jen-Eighty MPH Mom says
Oh I love these! You are so very talented. This looks really fun – I just might have to made these!
Whitney @ It's Gravy, Baby! says
I love these! Such an affordable craft with a big BANG.