Love bunny butts? Then you’ll love making and playing with Bunny Butt Easter Chalk. Keep on reading to learn how to make homemade chalk.
We love being outside and now that spring has sprung we are spending as much time as we can outside. With Easter literally right around the corner I thought it would be fun to make some Easter chalk.
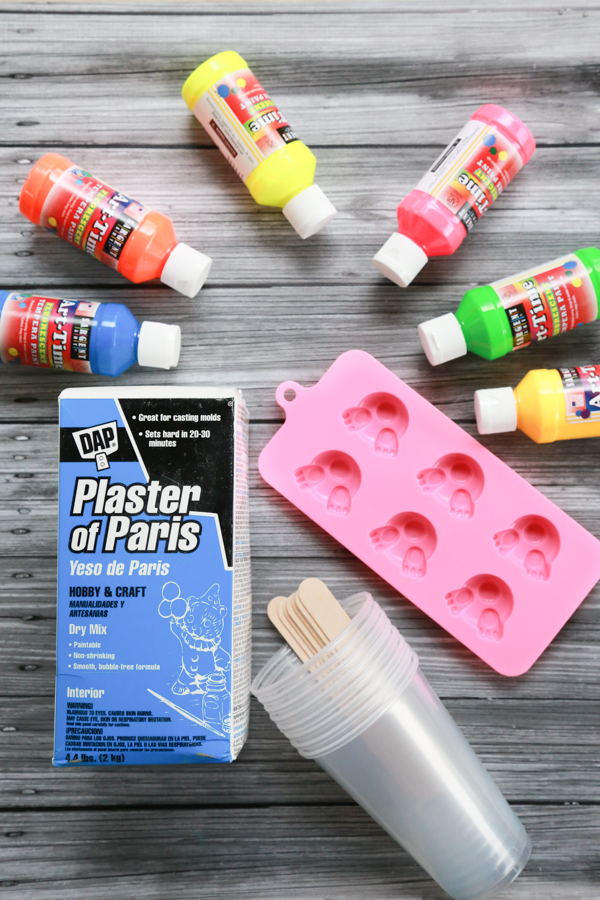
Making homemade chalk is actually really easy but it does take a little time for the chalk to set – so make sure you make it ahead of time. You’ll need to let it set between 4-24 hours before you can play with it.
Bunny Butt Easter Chalk Supplies
I found some really cool Easter molds while I was at Michael’s a couple weeks ago, but I also found some great ones you can pick up on Amazon. I’ve added several options below. I couldn’t find the Bunny Butt mold on Amazon though.
Egg Shaped Silicone Mold Easter Themed Silicone Mold
 Egg & Bunny Silicone Mold
 Chicks & Bunnies Silicone Mold
In addition to the silicone Easter molds, you’ll also need several other ingredients to make homemade chalk. Ordering everything you need from Amazon makes this Easter project super easy and so convenient.
Plaster of Paris Tempera Paint
 Craft Sticks
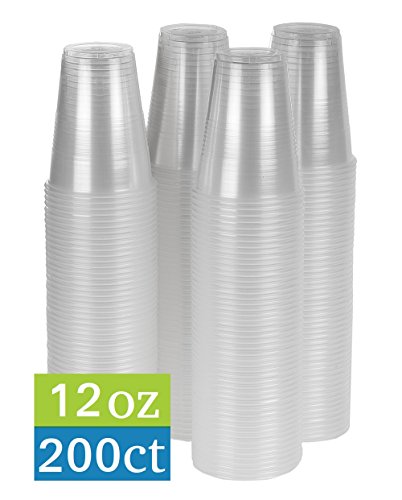
 Plastic cups
 Measuring Cups
It’s really important to point out that Plaster of Paris should never go down your drains. It will harden in your pipes and can cause hundreds or even thousands of dollars in damage. I recommend using plastic cups and craft sticks so that you can simply throw them away when you’re done making Bunny Butt Easter Chalk.
Also note that this project is a messy one. Going outside to enjoy the free Vitamin D is your best bet when making Bunny Butt Easter Chalk. If you have an old plastic tablecloth, it wouldn’t hurt to use one of those in case of accidental spills. Not that I know from experience of anything.
Making Bunny Butt Easter Chalk
Scroll down to the bottom for a free printable tutorial card.
Before getting all your supplies ready, fill a large measuring receptacle with water and place in the freezer. It’s important to use cold water when making homemade chalk with Plaster of Paris. While you’re getting everything ready, the water will be cooling down too.
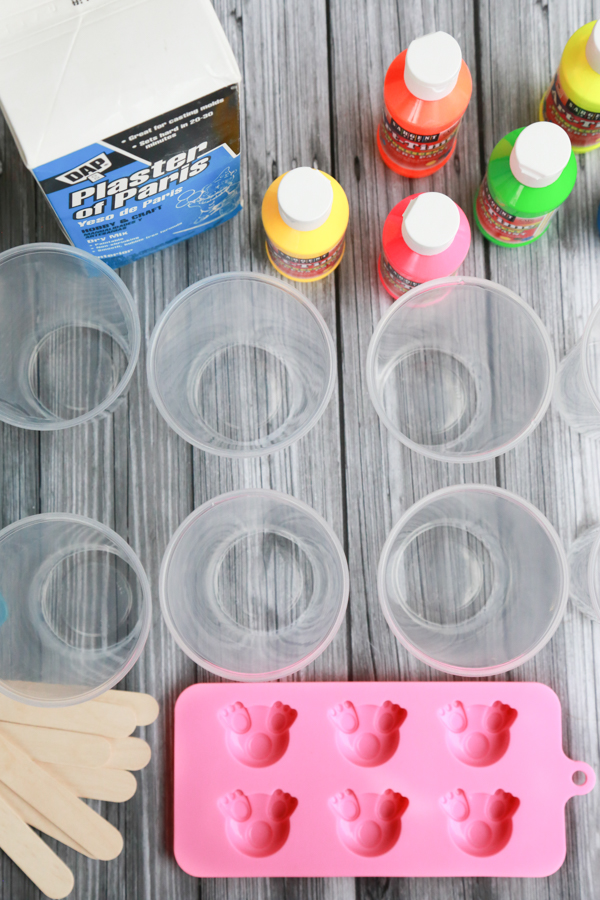
I always start projects with everything I need ready and laid out for me. If I don’t have everything laid out in front of me, I’m likely to miss a step and ruin the entire project. That’s not a good thing when the kids are expecting a fun project with mom.
To help with this project, I lined all my cups up, had my craft sticks standing by, opened the box of Plaster of Paris, had the measuring cups ready to go, and had my silicone mold ready. Once I had all that ready to go, I grabbed the water from the freezer.
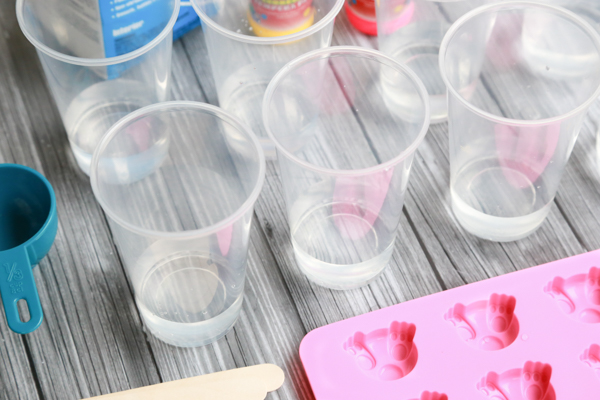
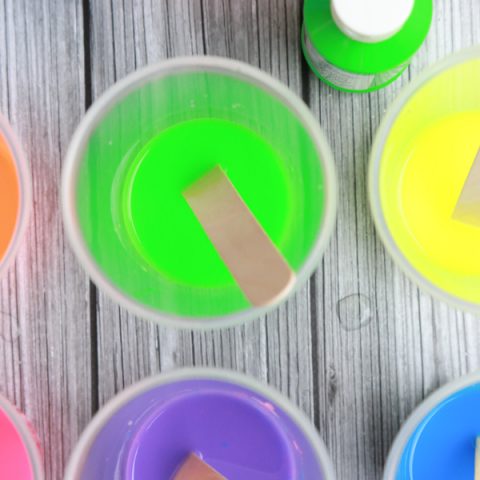
Then, I filled each cup with 1/3 cup cold water. I added about 2 tablespoons of tempera paint to each cup and stirred using craft sticks. If all the paint doesn’t dissolve or it looks separated, it’s okay. Once you add in the Plaster of Paris it will all combine together nicely.
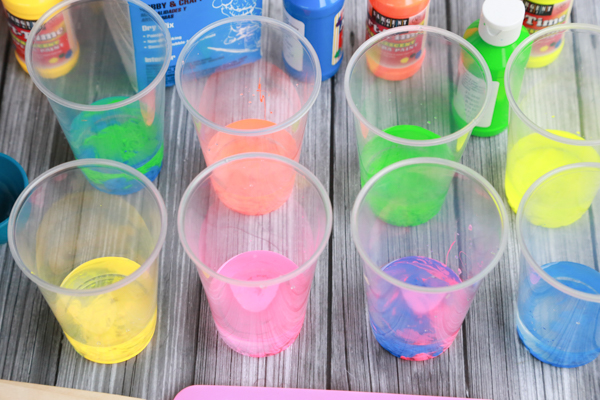
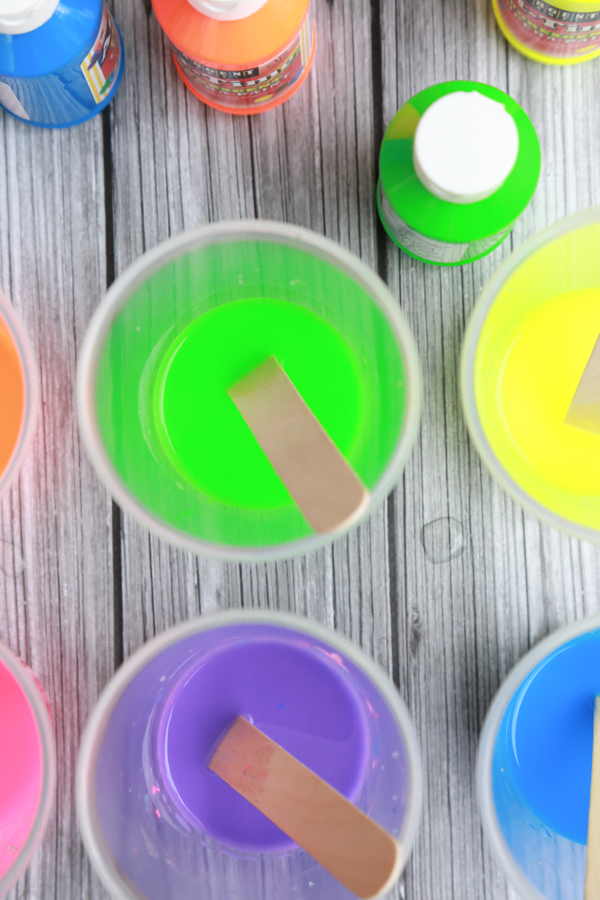
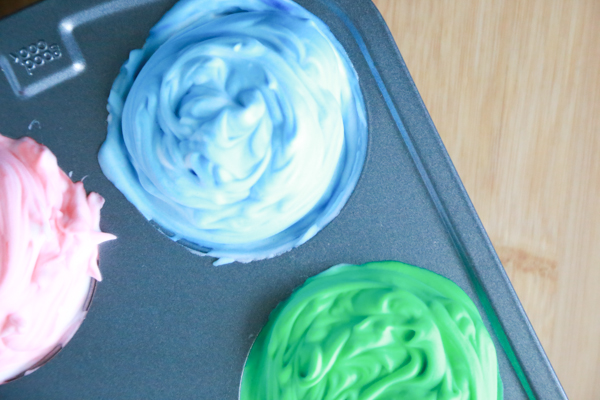
Next, add in 2/3 cup Plaster of Paris and stir until combined. It should resemble the consistency of thin yogurt. If you can work quickly, you can do all the cups at one time. If you’re slower, like I am, work with one color at a time until you get the hang of it. Since my molds were on the smaller side, I had to work slower to ensure that I was as neat as possible.
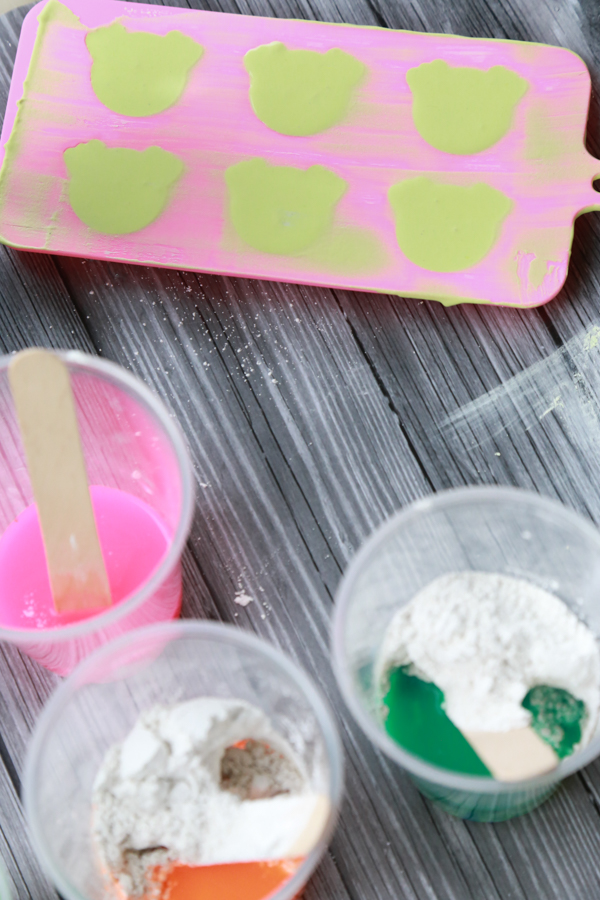
Pour into the mold if you can, or use a medicine syringe like the ones you get from CVS or Walgreens to put the mixture into the molds. Once you have the molds filled, gently tap the mold onto a hard surface to get rid of any air pockets.
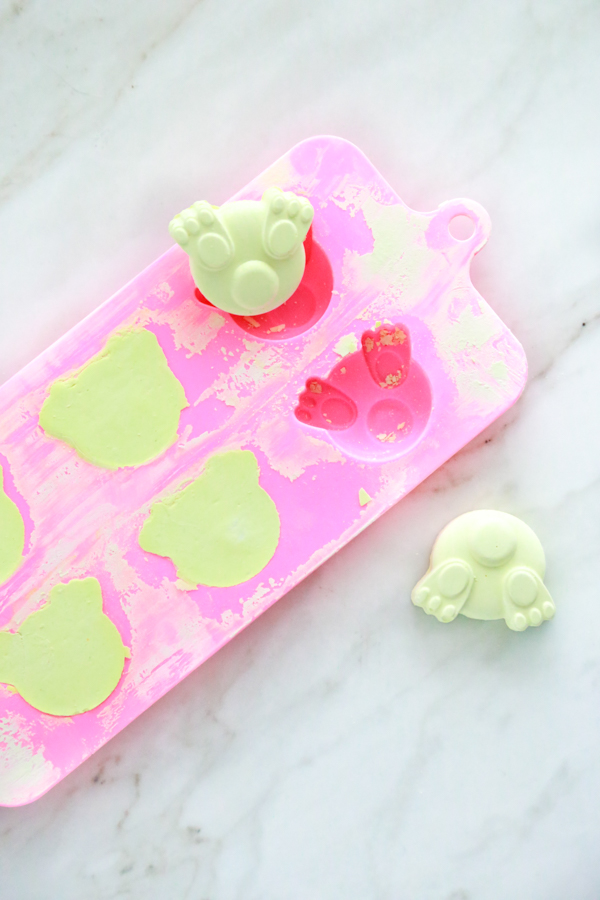
Set aside in the sun and allow to sit undisturbed for at least 4 hours. If at all possible, I recommend waiting a full 24 hours to ensure the Plaster of Paris has cured completely. Once it’s set, it’s time to play!
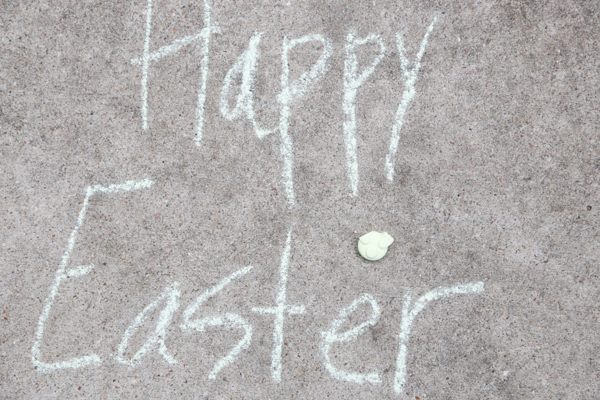
Don’t forget to pin this to your favorite boards on Pinterest so that you don’t lose it. Making homemade chalk is a fun project for the entire family.

How to Make Bunny Butt Easter Chalk
Bunny Butt Easter Chalk
Make your own Easter basket filler with this cute Bunny Butt Easter chalk.
Materials
- Plaster of Paris
- neon tempera paint
- silicone Easter molds
- wood craft sticks
- plastic cups
- cold water
- measuring cups
Instructions
- You will need one plastic cup for each color you want to make. Fill each plastic cup with 1/3 cup cold water. (Yes, cold water is important. Put water in the freezer while you're getting all the supplies ready so that it will be cold when you're ready to use it.)
- Add about 2 tablespoons of tempera paint to each plastic cup. Feel free to mix colors to create new colors like I did. Use the craft sticks to stir the water and paint together. (It's okay if it doesn't mix all the way - it will work itself out with the next step.)
- Add 2/3 cup Plaster of Paris to one plastic cup. Stir with the craft stick until thoroughly combined. Your mixture should have the consistency of thin yogurt. (I like to work one color at a time so that it doesn't begin to harden before I can use it. It gets harder to use the longer it sits.)
- Carefully pour into a silicone mold. If your mold is small like mine, use a medicine syringe that you get from CVS or Walgreens to put the mixture into the silicone mold. Carefully tap the mold on your work surface to release any air bubbles that may be trapped. Repeat step 3 once you've used all of one color.
- Allow chalk to sit in the sun for at least 4 hours, although I recommend a full 24 hours so that the plaster can fully cure.
Did you like this homemade Easter chalk? If so, you’ll like these posts too:



Kristi says
What a fun idea. This would be a great idea to give as birthday party favors to kids.
Brandy says
That is the most adorable idea ever! I know that my youngest son would get a kick out of making and using Bunny butt chalk. I will have to give this a try this weekend!
Sharon says
These are so cute! I love doing fun stuff like this with the kids
Scott says
I guess I didn’t realize making your own chalk was so simple! And that mold just makes it so cute!
lisa says
OMGoodness what a great idea! I know my kids and grandkids would love to make this, I never knew making chalk would be that simple! WOW this is cool!