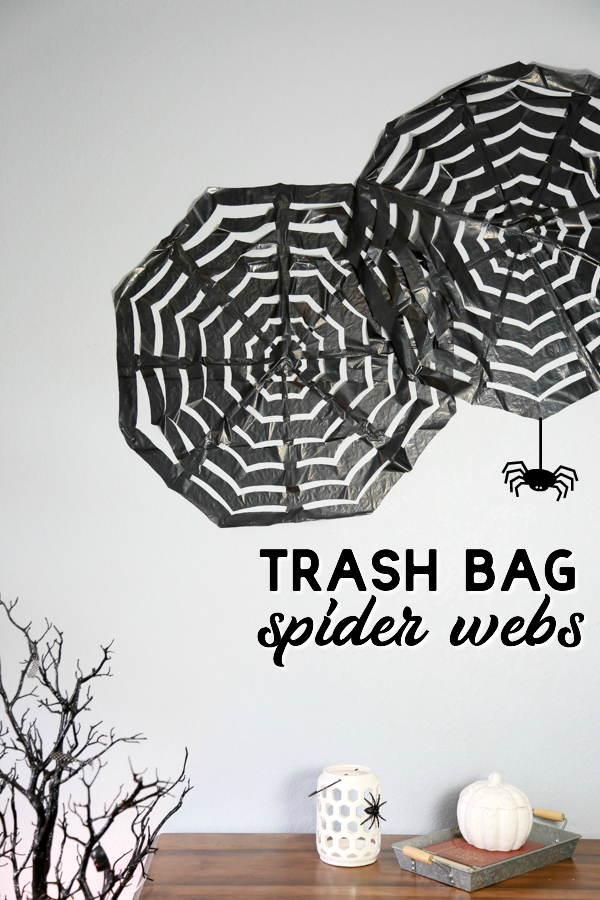
I love decorating for all the different holidays we celebrate but I don’t like spending a lot of money. That’s why I love making these Trash Bag Spider Webs. They’re such a cheap way to make a room a bit more spooky.
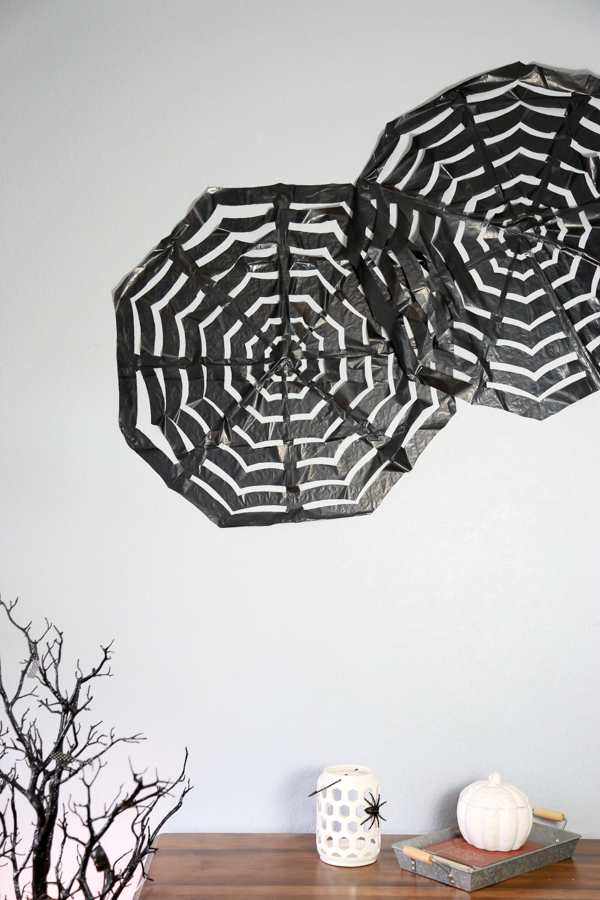
I guess you could say I’m a cheap decorator, especially when it comes to the holidays. If I can make it myself cheaper, I probably will. There’s something so rewarding about saving myself a few bucks, y’all.
Trash Bag Spider Webs
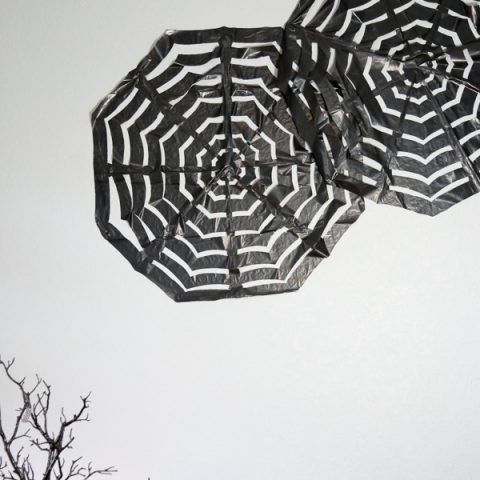
These Trash Bag Spider Webs are probably some of cheapest decorations I have made so far. What I love about these spider webs made out of trash bags is that they’re one of a kind and no two spider webs look the same.
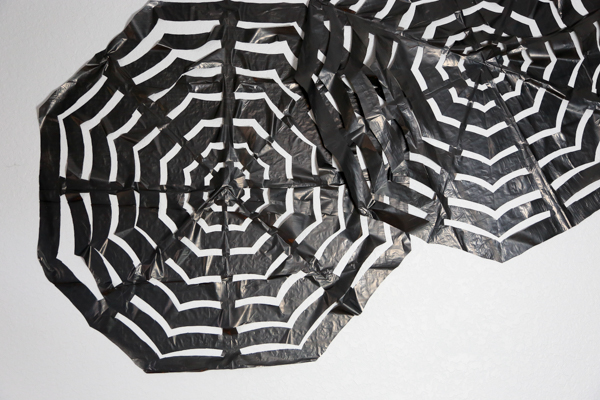
I can easily change up the way the spider webs look by the way I cut them and the type of trash bag I use. For this batch, I used the cheapest 30 gallon black trash bags I could find at Walmart. I paid about $4 for 30 bags. That makes them about $.14 a bag.
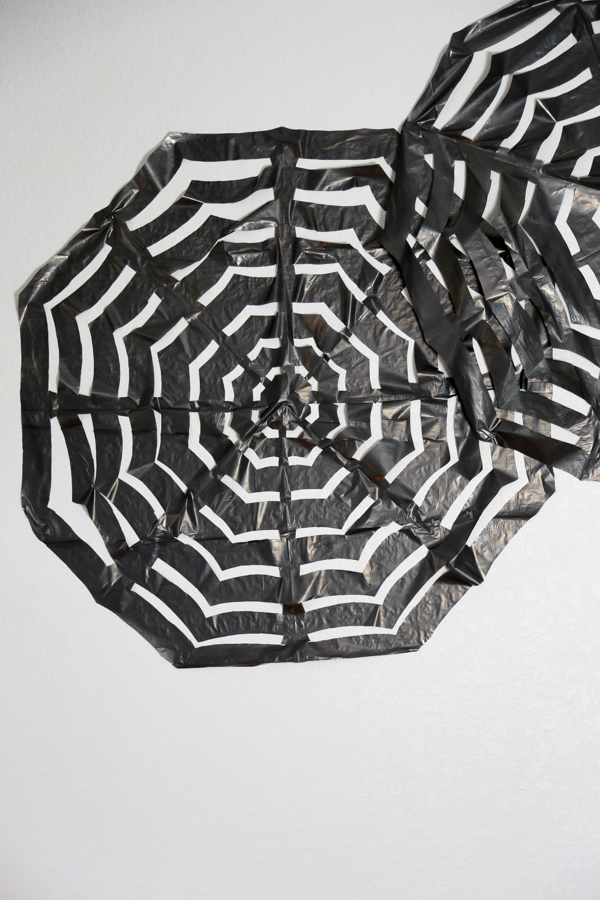
But because each trash bag makes two spider webs, that drops the cost down to $.07 per Trash Bag Spider Web. Not a bad deal – right?
Trash Bag Spider Web Supplies
Just like the name suggests, these spider webs are made out of trash bags. You’ll need just a few more supplies though.
- 30 gallon black trash bags
- tape (I use washi tape since it’s easy to remove)
- marker
- sharp scissors
So after trying a couple of different types of trash bags, I found that the regular trash bags work better. I get the twist tie bags because they’re cheaper and it’s easier to trim the edges. You don’t need a trash bag with any fancy features (like drawstring) for this project.
You will however need some pretty sharp scissors to be able to cut through the layers of trash bag. Having sharp scissors really makes this project so much simpler. Since the trash bags are slick and glossy, having scissors that cut through easily gives you a better looking spider web.
How to Make Trash Bag Spider Webs
Scroll down to the bottom of the page for a printable tutorial.
Take the trash bag from the package and lay it flat on a hard surface. Trim the edges from the sides and the bottom. This should give you 2 large black rectangles. Don’t separate them – keep them together.
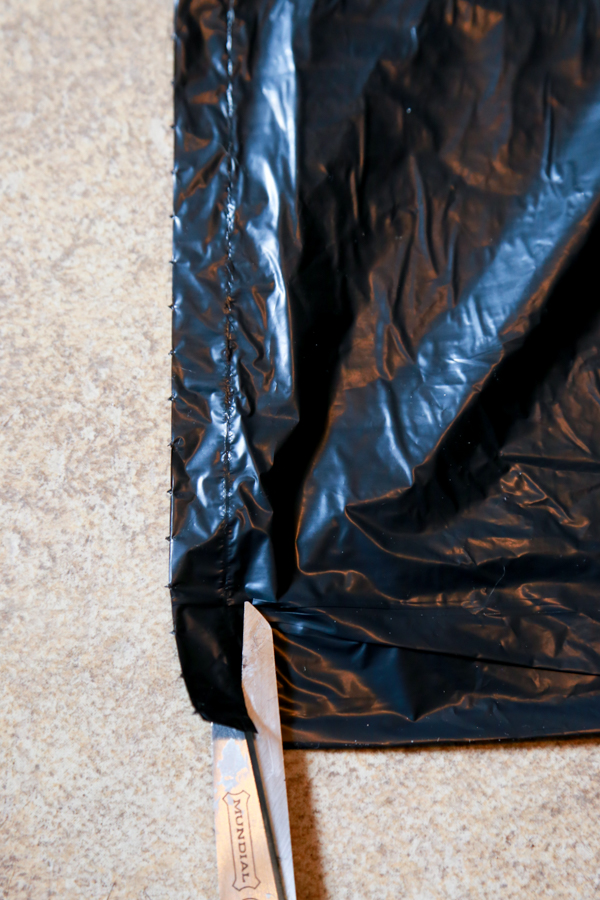
Fold the trash bag into a triangle and cut off the excess to form a square. You can discard the excess piece or use it to make smaller spider webs with trash bags.
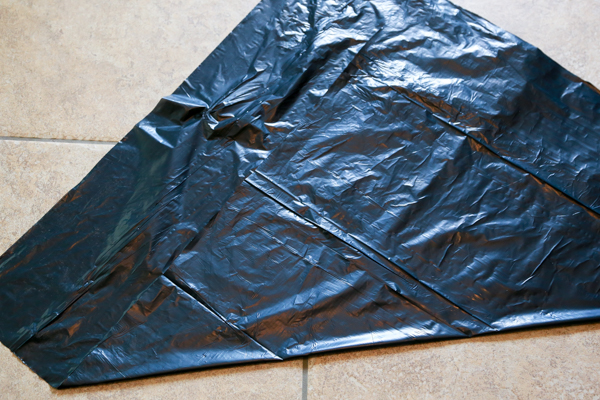
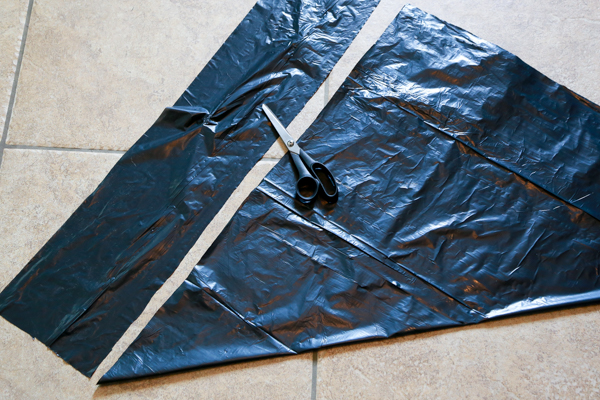
Then, fold the large triangle into a smaller triangle. I like to use a small piece of tape at the ends just to keep it all lined up. Just make sure you use an easy to remove tape like washi tape.
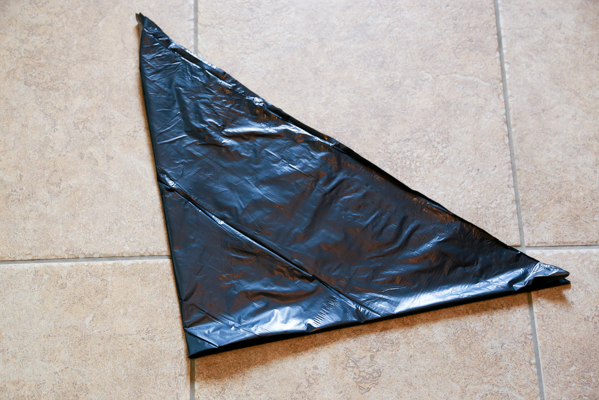
Repeat again by folding that triangle to form an even smaller triangle.
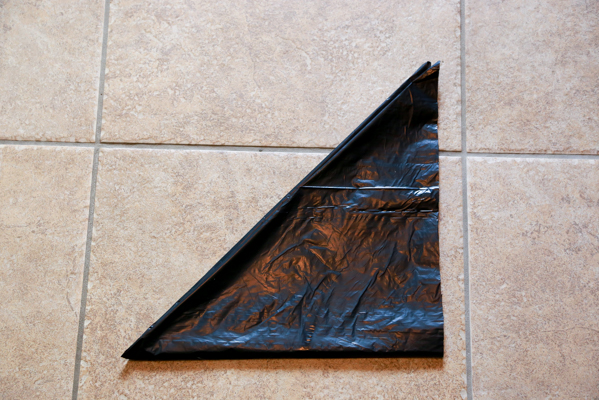
You’ll need to make one last fold to make it look cone-shaped. Just like when you started, there will be excess trash bag at the end.
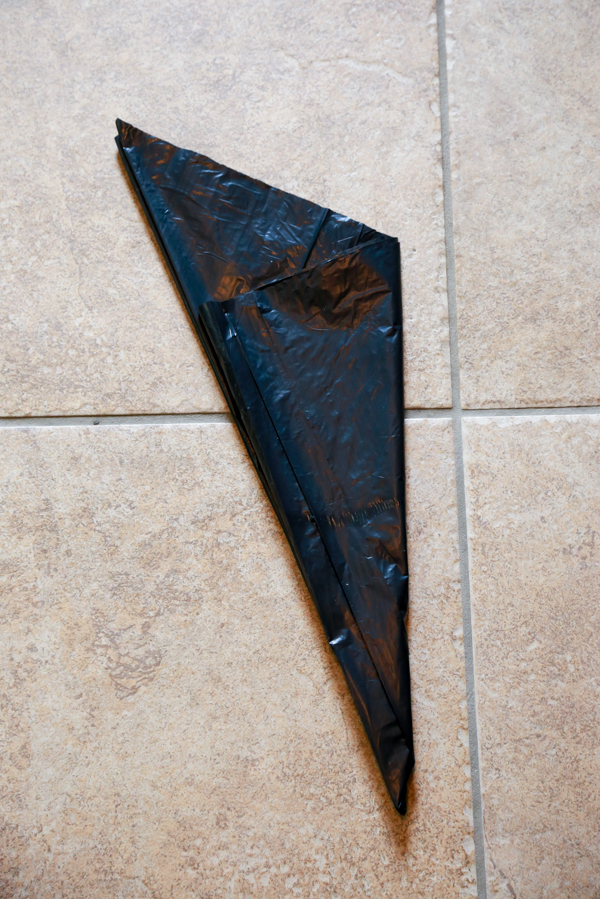
Tape the open edge and trim the excess at the bottom of the cone. Cut it on a curve to resemble the edges of a spider web.
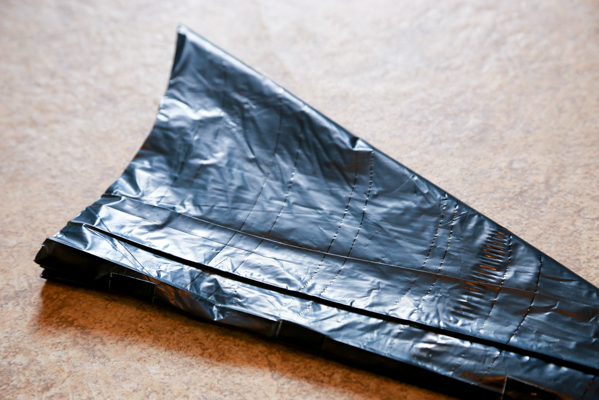
Draw a template on the bag using a permanent marker. I used a pen to make sure I liked the spacing before going over it with the permanent marker. Basically you want slightly curved rectangles going all the way up the trash bag.
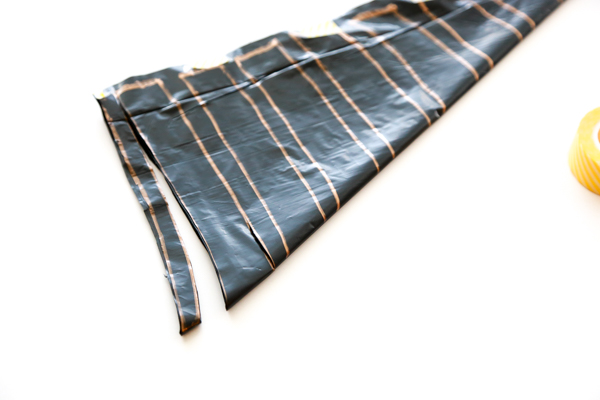
Cut on the template lines making sure not to cut all the way through on the edge that you’ve taped.
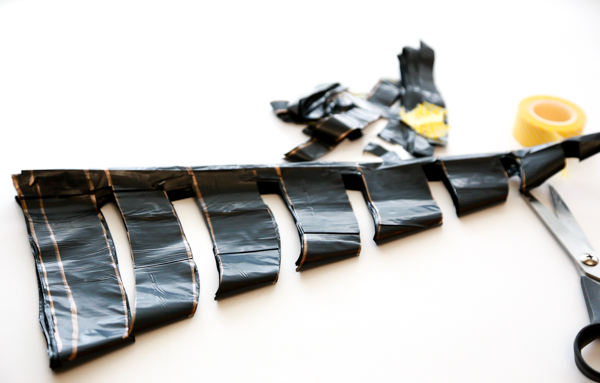
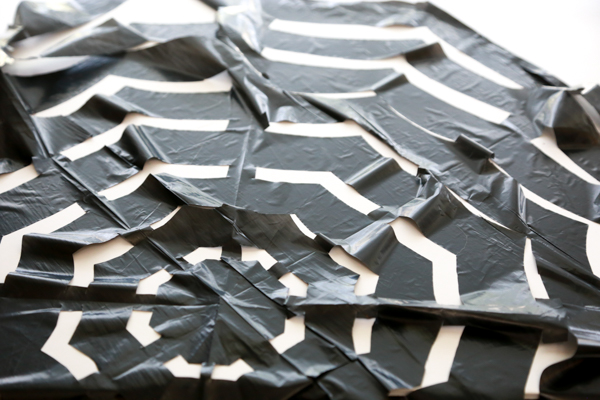
Once you’ve cut all the lines, remove the tap and unfold to reveal your Trash Bag Spider Webs.
Tips for Making Trash Bag Spider Webs
Tape is your BFF with this project. Because the bags are so slippery, tape helps secure and keep everything how you want it. Don’t be afraid to use a lot of tape. Just make sure it’s a tape that can be removed easily. I love using washi tape for this project.
You can change the way the spider web looks by how thick you make the template. If you look at the template above, I could have cut the smaller sections out or the larger section. In this case, I cut the smaller sections to make the webs appear more bold and prominent. If I would have cut the larger sections, the webs would have looked more dainty. Make sense?
I’m not joking when I say you need sharp scissors. I used my craft scissors for this project because I needed it to slide through the trash bag without resistance so that it didn’t move the bag making me go off of the template that I had drawn. If you don’t have very sharp scissors, a box cutter could work too. I think it will just be a slower cutting process.
Don’t forget to pin these spooky DIY spider webs to your favorite Halloween board on Pinterest. And before you go, check out all my other Halloween stuff.
If you liked this Halloween DIY, you’ll probably like these, too:
Trash Bag Spider Webs
Turn a black trash bag into a spooky spider web for Halloween
Materials
- black 30 gallon trash bag - not drawstring
- tape - something that is easily removable - like washi
- permanent marker
- sharp scissors
Instructions
- Take the trash bag from the package and lay it flat on a hard surface. Trim the edges from the sides and the bottom. This should give you 2 large black rectangles. Don’t separate them – keep them together.
- Fold the trash bag into a triangle and cut off the excess to form a square. You can discard the excess piece or use it to make smaller spider webs with trash bags.
- Then, fold the large triangle into a smaller triangle. I like to use a small piece of tape at the ends just to keep it all lined up. Just make sure you use an easy to remove tape like washi tape.
- Repeat again by folding that triangle to form an even smaller triangle.
- You’ll need to make one last fold to make it look cone-shaped. Just like when you started, there will be excess trash bag at the end.
- Tape the open edge and trim the excess at the bottom of the cone. Cut it on a curve to resemble the edges of a spider web.
- Draw a template on the bag using a permanent marker. I used a pen to make sure I liked the spacing before going over it with the permanent marker. Basically you want slightly curved rectangles going all the way up the trash bag.
- Cut on the template lines making sure not to cut all the way through on the edge that you’ve taped.
- Once you’ve cut all the lines, remove the tap and unfold to reveal your Trash Bag Spider Webs.

Leave a Reply