I love having photos of my family displayed throughout my home. These DIY Photo Coasters are a great way to utilize space not normally used for photos.
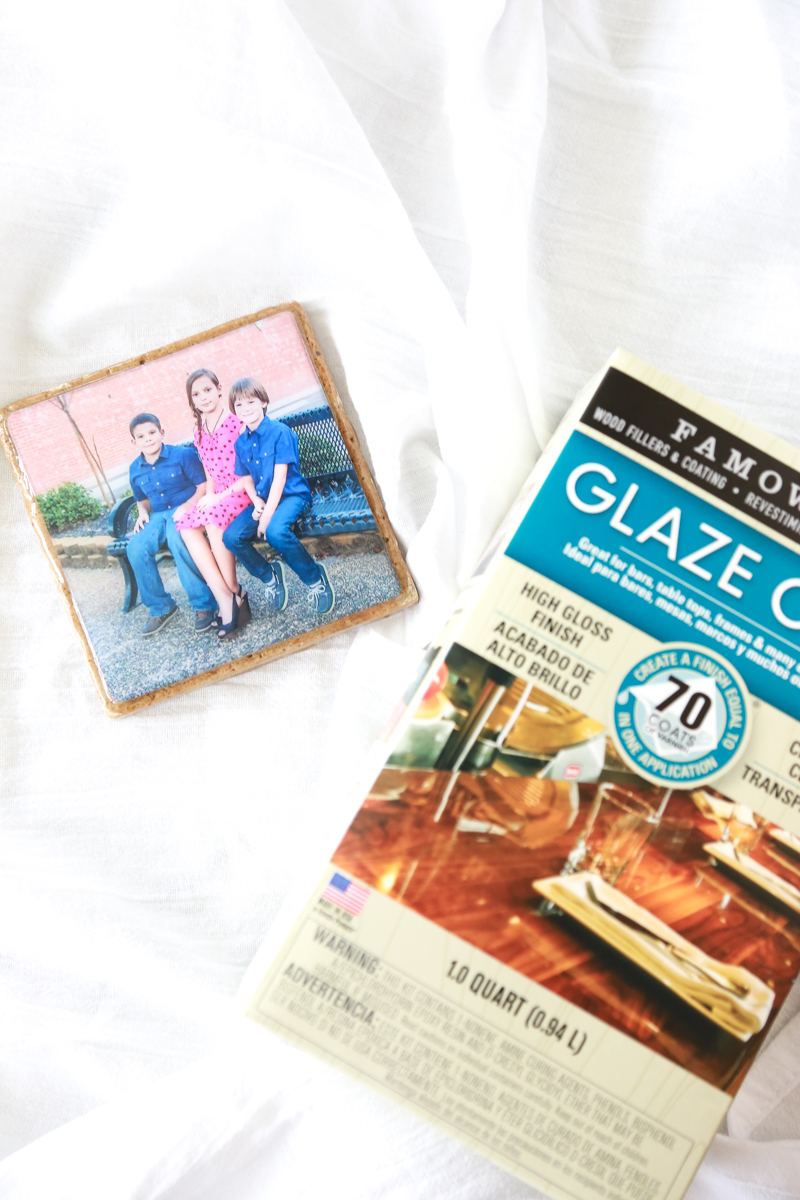
I love getting crafty and creating things to display in my home. I don’t always have the time to get crafty, but when I do, I love the creativity that starts flowing.
I recently partnered with Eclectic Products to get the word out about their new Famowood Glaze Coat. While brainstorming creative ideas, I remembered some personalized coasters I had seen on a popular photo website. I decided to give it a shot using a photo of my children and I love the way it turned out.
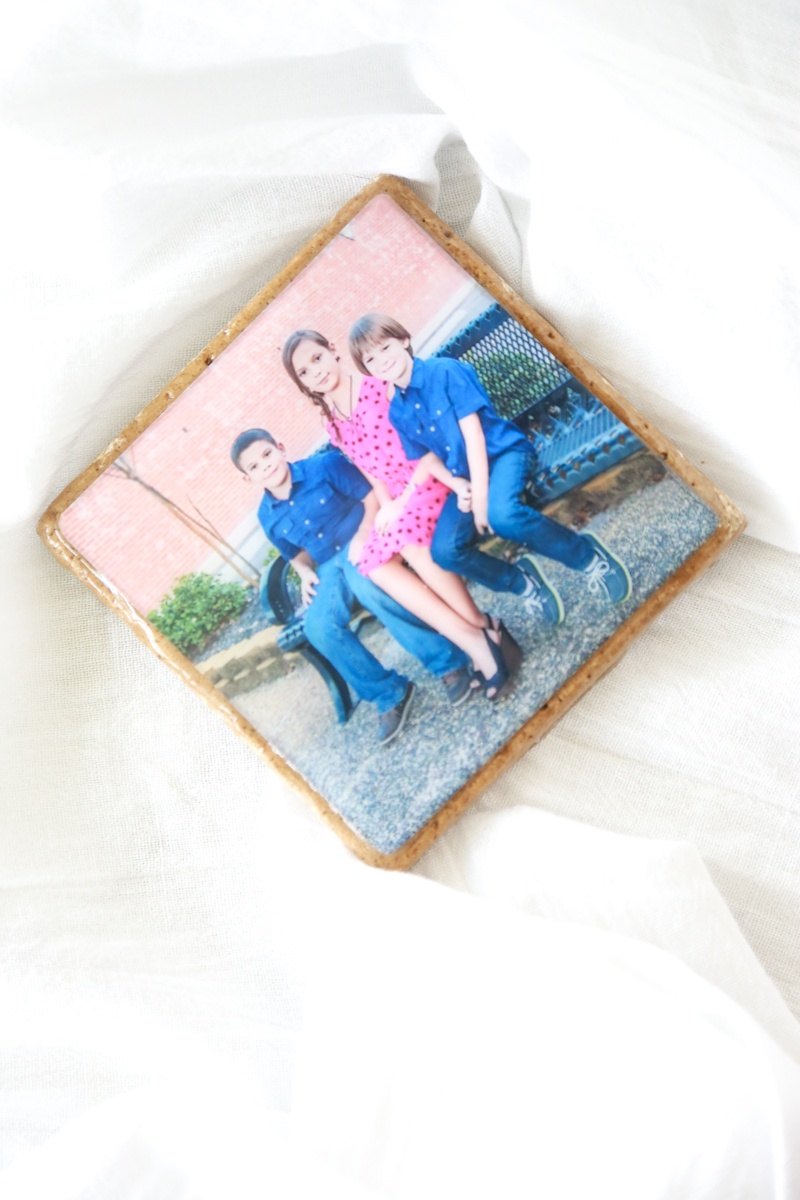
Making a photo coaster is surprisingly easy, but if you’re a little impatient like me, the curing time is a bit of torture.
Photo Coaster Supplies
I love projects that don’t require a hundred different supplies. To make your own homemade photo coaster, you’ll need minimal tools and supplies.
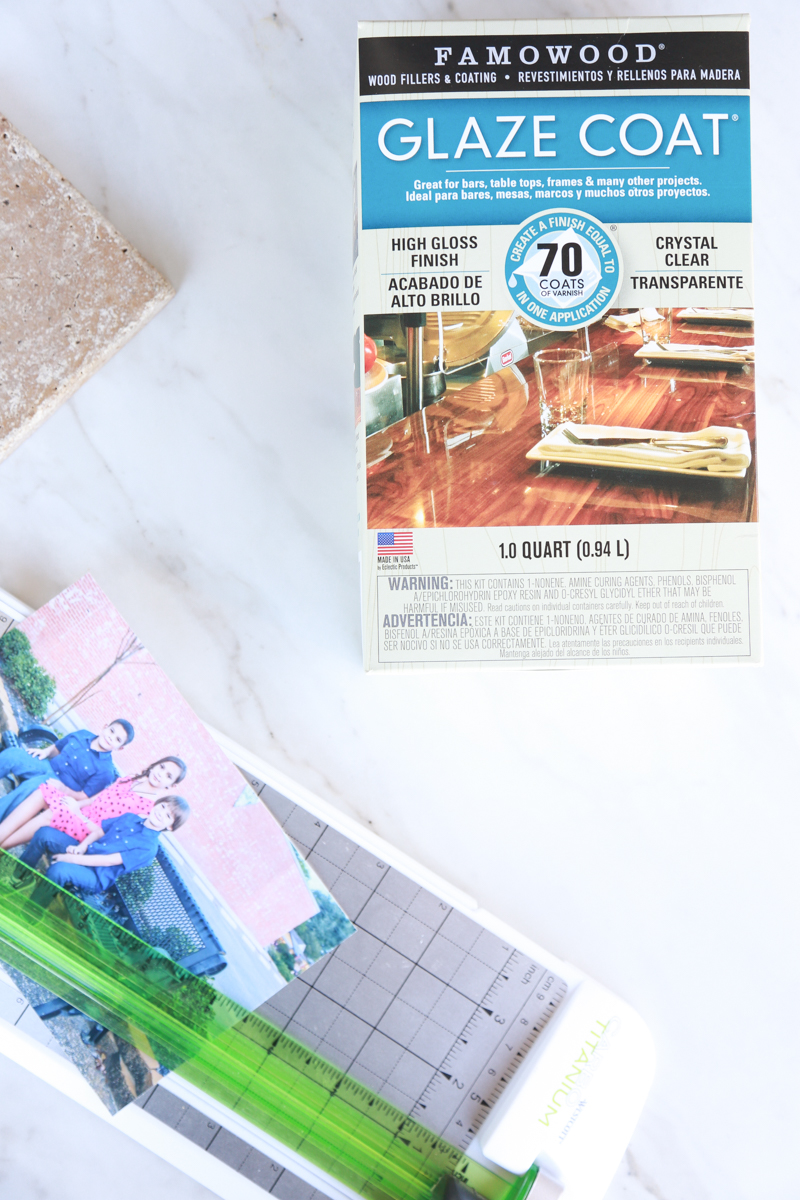
- 4″ x 4″ tile
- photo
- paper cutter/scissors
- double-sided tape
- Famowood Glaze Coat
- 2 small plastic cups
- 3 large craft sticks
- newspaper/old cardboard
- heat gun or long-tipped lighter
- paper plates/something to cover tile while it cures
If you don’t have any tiles at home, you can pick up single tiles at home improvement stores like Home Depot or Lowe’s.
How to Make Photo Coasters
Scroll down to the bottom of this page for a free printable tutorial card.
Making a photo coaster is actually really simple; it just takes a bit of curing time. You’ll need to make sure you have an area set aside, out of the way, so that the coaster can dry for 72 hours.
For the photo, I just used a 4″ x 6″ photo that I had ordered off of Shutterfly. I cut it down using my paper cutter to fit on top of the tile. Then I used double-sided tape to adhere it to the tile.
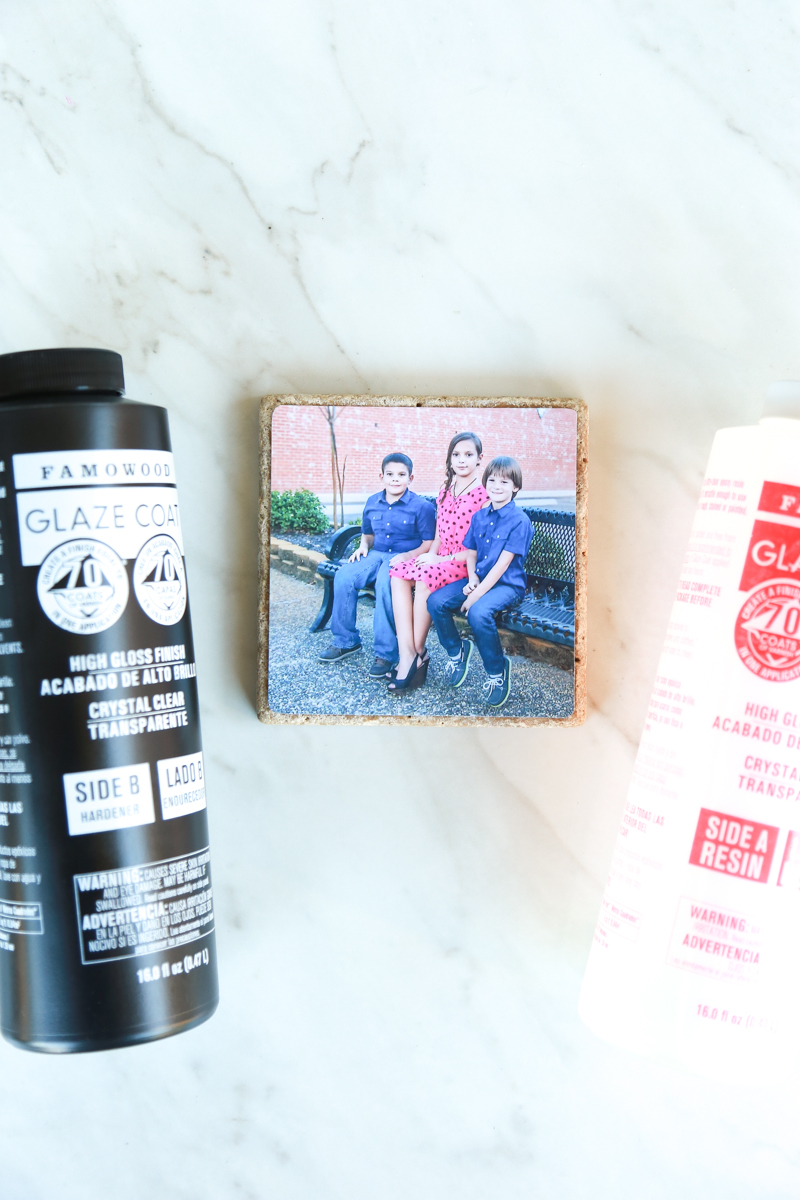
Then, following the directions on the Glaze Coat packaging, prepare about 1/4 cup of mixture. This process takes about 12 minutes of stirring. Be prepared to have an extra person to stir on hand. Your hand will get tired.
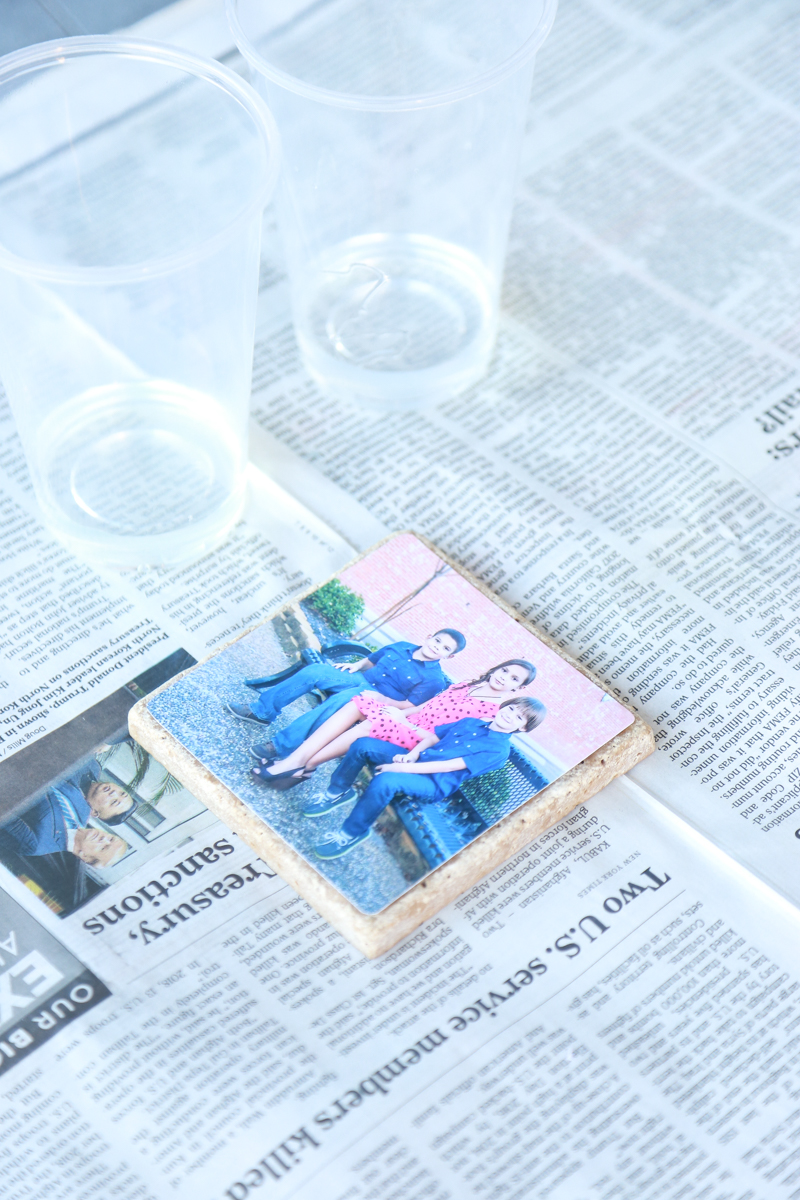
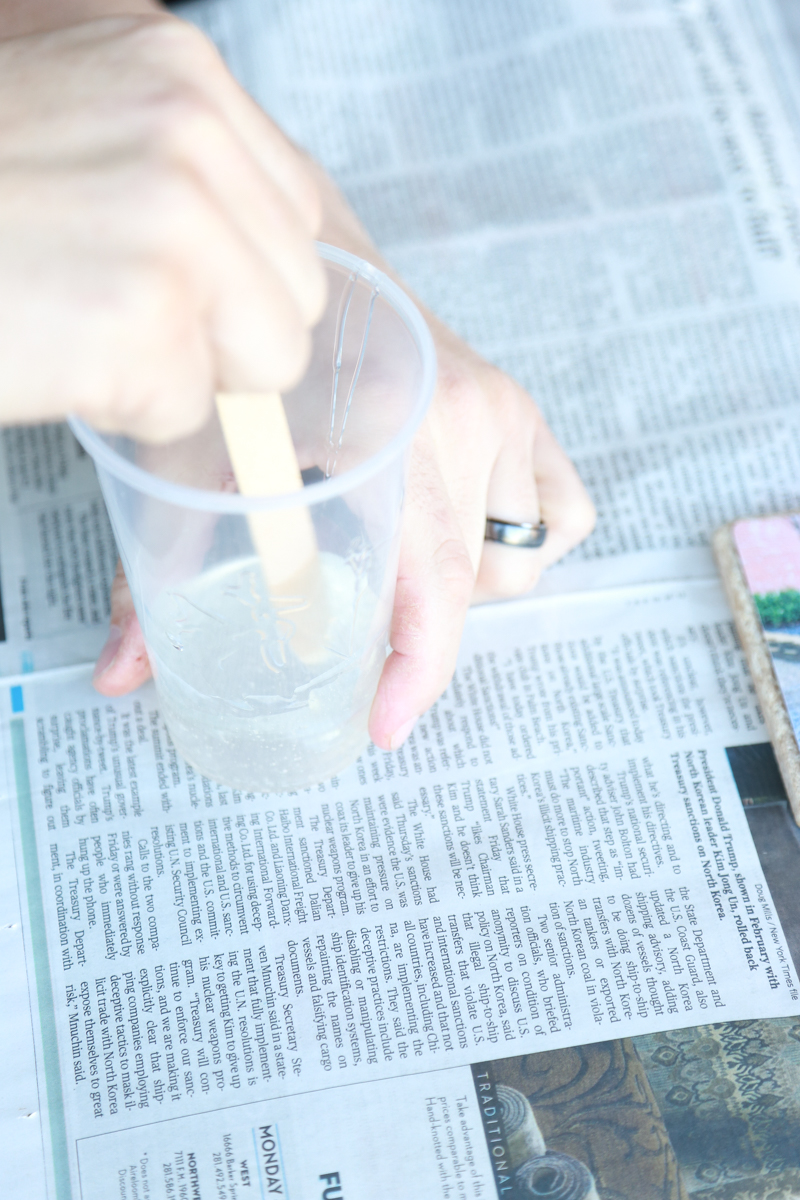
Once the Glaze Coat is ready to use, carefully pour a small amount onto the photo. Using a large craft stick, spread the Glaze Coat over the photo evenly.
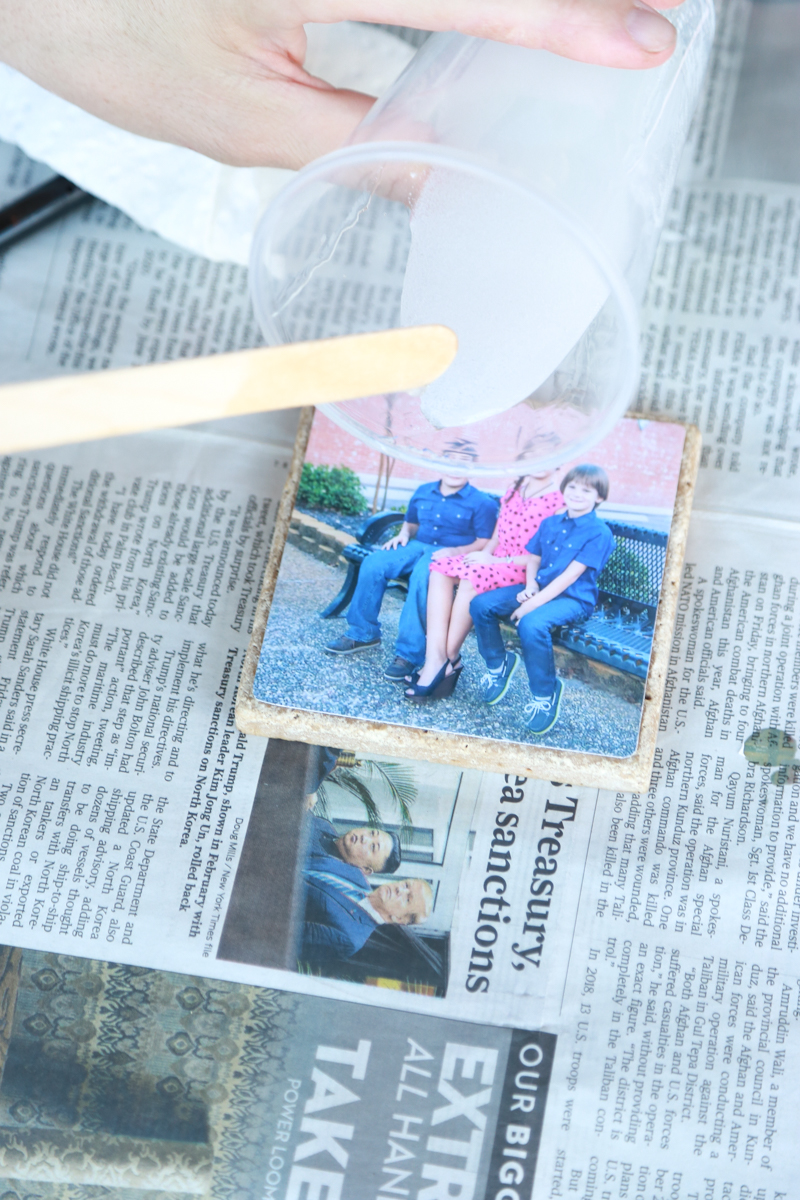
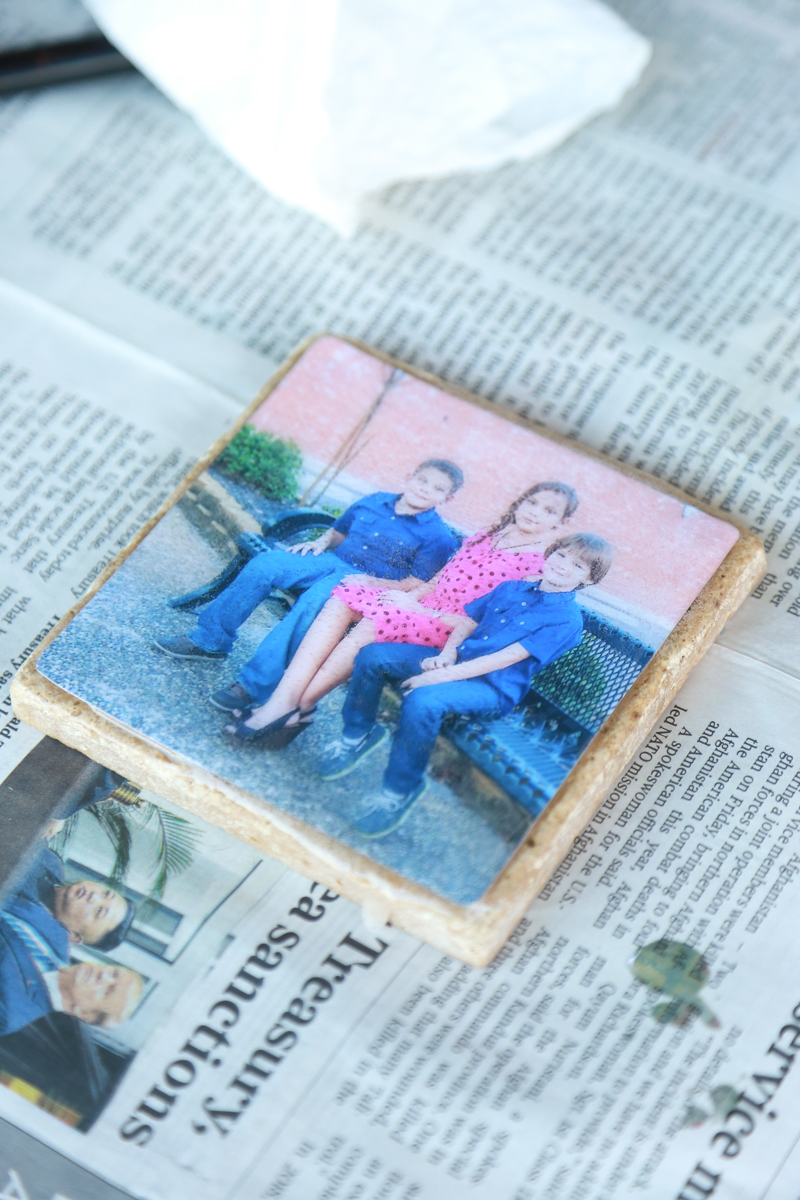 Make sure you have completely covered the photo along with the edges of the photo. You want every edge of the photo to be sealed once the Glaze Coat is dry and cured. Use the craft stick to make sure you seal those edges.
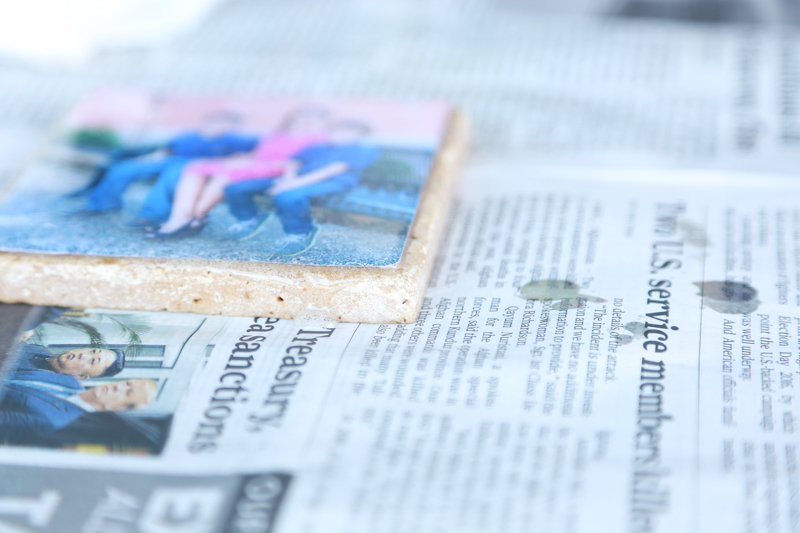
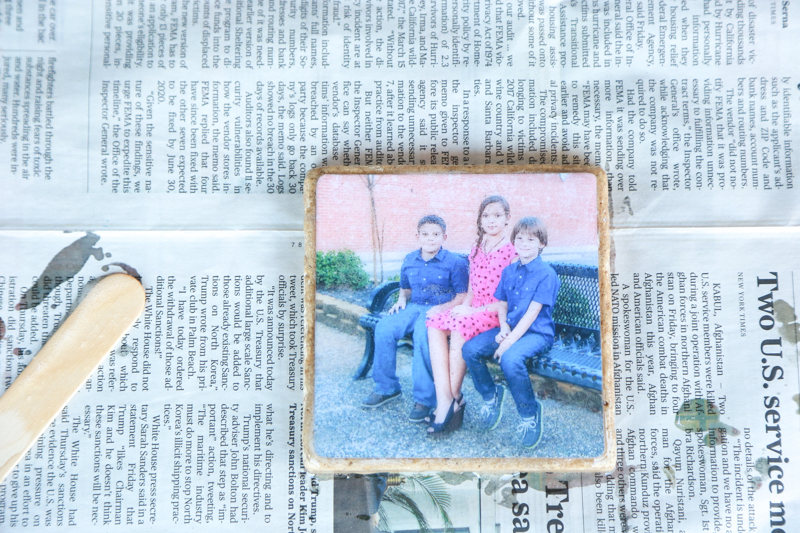
Don’t worry about getting some on the newspaper or cardboard. You can use a sharp knife, score it and then peel it away.
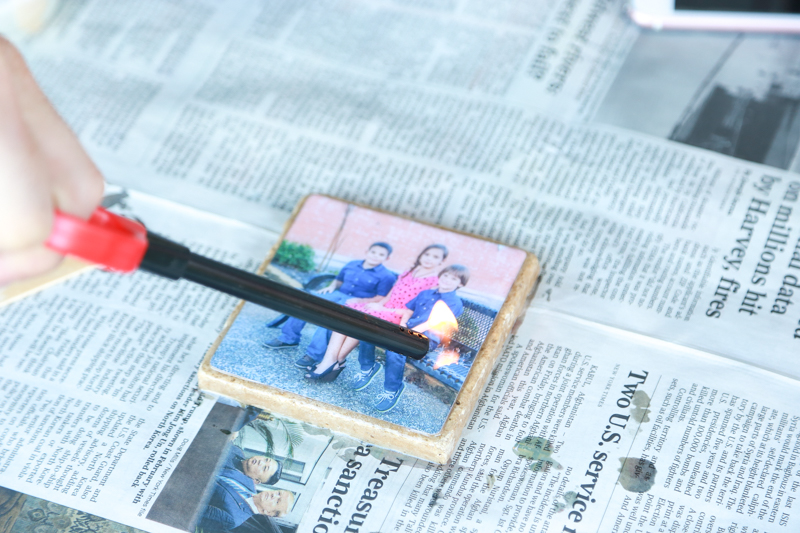
You’ll probably notice a lot of air bubbles in the Glaze Coat. This is completely normal. You’ll use the heat gun or lighter to get rid of the bubbles. Carefully run the flame over the Glaze Coat until the bubbles are gone.
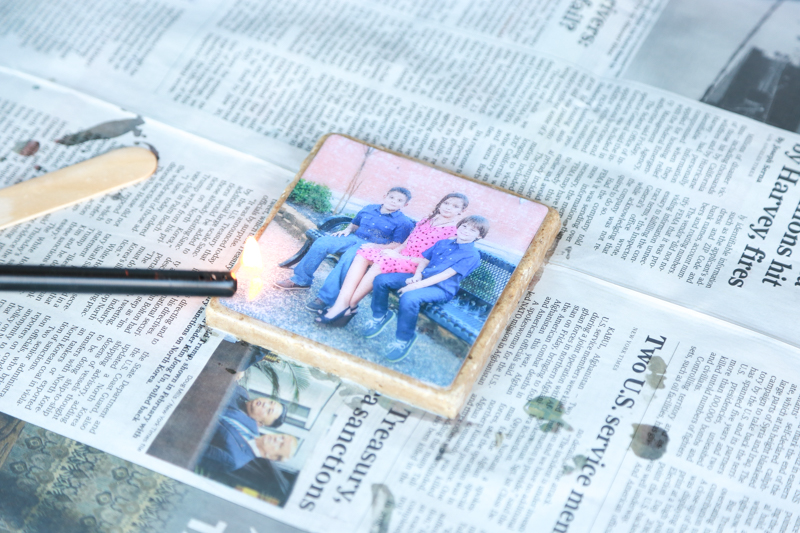
As you run the flame over the bubbles you can actually see them disappear right in front of your eyes.
Then you’ll need to move the photo coaster to an area that is out of the way and won’t be disturbed. I used a paper plate to put over the coaster so that no dust or pet hairs would settle on it while it cured. After 72 hours of curing, your photo coaster should be ready to use.
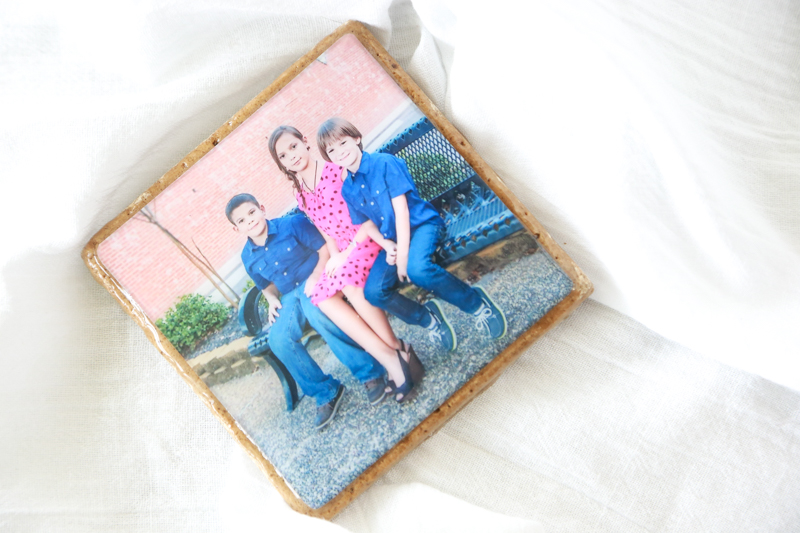
Don’t forget to pin this Photo Coaster tutorial to one of your favorite Pinterest boards so you don’t lose it.
Feeling a little creative and crafty? Check out these other DIYs:
Photo Coaster Tutorial
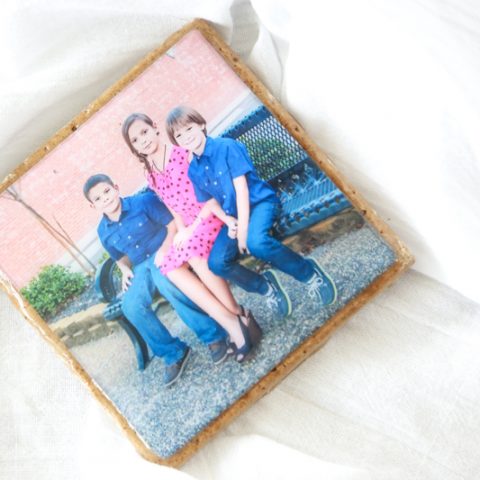
DIY Photo Coasters
Turn a boring old tile into a beautiful multi-purpose piece in your home.
Materials
- 4″ x 4″ tile
- photo
- paper cutter/scissors
- double-sided tape
- Famowood Glaze Coat
- 2 small plastic cups
- 3 large craft sticks
- newspaper/old cardboard
- heat gun or long-tipped lighter
- paper plates/something to cover tile while it cures
Instructions
- Cut down photo using a paper cutter or scissors so that it fits on top of the tile.
- Use double-sided tape to adhere the photo to the top of the tile.
- Then, following the directions on the Glaze Coat packaging, prepare about 1/4 cup of mixture. This process takes about 12 minutes of stirring.
- Carefully pour a small amount of the Glaze Coat onto the top of the photo. Using a large craft stick, spread the Glaze Coat over the photo evenly. Make sure the edges are sealed with Glaze Coat.
- Use a heat gun or lighter to get rid of the bubbles. Carefully run the flame over the Glaze Coat until the bubbles are gone.
- Lastly, move the photo coaster to an area that is out of the way and won’t be disturbed. I used a paper plate to put over the coaster so that no dust or pet hairs would settle on it while it cured. After 72 hours of curing, your photo coaster should be ready to use.
Rebecca Talley says
What a simple, but great idea for grandparents. I love projects that include photos of my family. Thanks for this DIY project. I’m going to put it on my to-do list.